The vale of soft pastels in February, is loveliness defined.
Valentine´s Day has perfect timing, doesn´t it? Just when the winter seems to be dragging on, February 14th provides a dreamy little interlude. Pink hearts, sweet sentiments and chocolate – enough to make anyone blush!
Personally, I love the nostalgia of a homemade Valentine. What a great opportunity to create something unique, but also heart-felt. It has become a tradition in my house and we all look forward to brainstorming ideas.
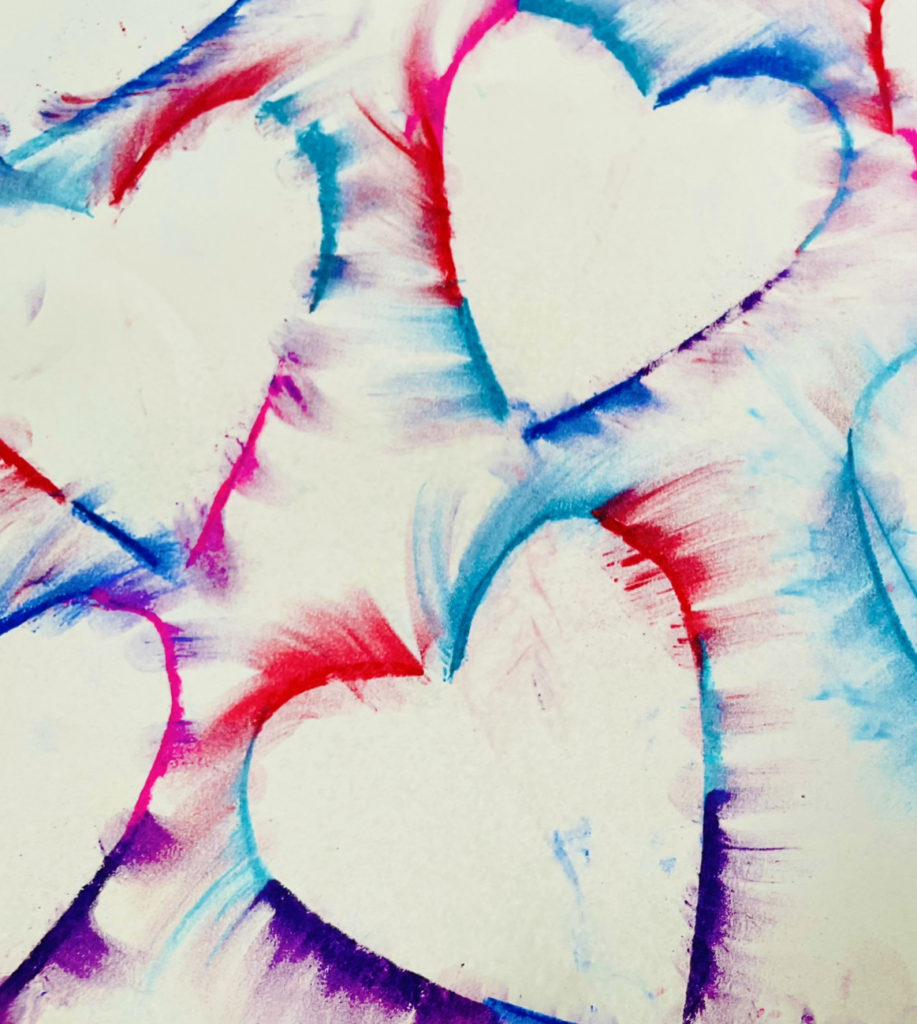
What I will share today is 3 simple ways to create Valentine´s inspired paper. You could use the paper to create traditional Valentines, greeting cards, place cards or even wrapping paper.
The Golden Rule
When creating art with kids, there is one Golden Rule. It should be made by the kids! Therefore, it shouldn’t look perfect. It should look like kids made it! That is part of the charm. I know it is hard, but try to give your children some creative license. They will surprise you!
#1 – Paper Stamping
MATERIALS
Paper Towel/Toilet Paper rolls
Quality Drawing Paper (that will stand up to water and paint)
Washable Paint in a variety of colors
PROCEDURE
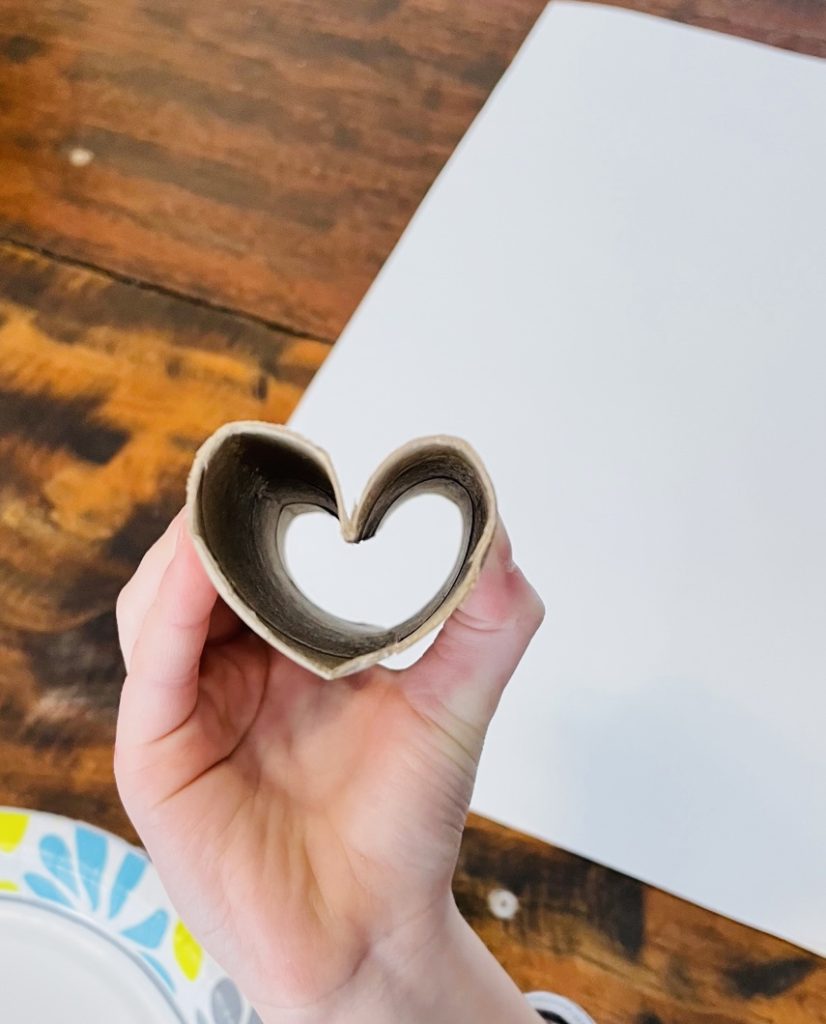
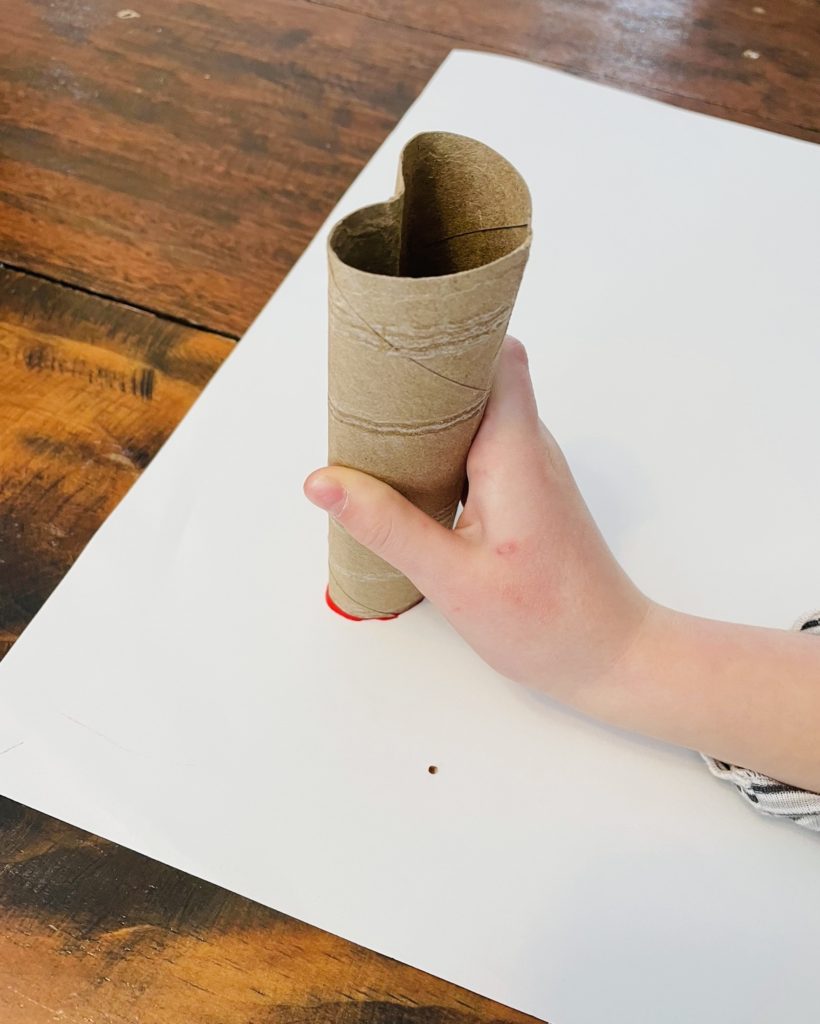
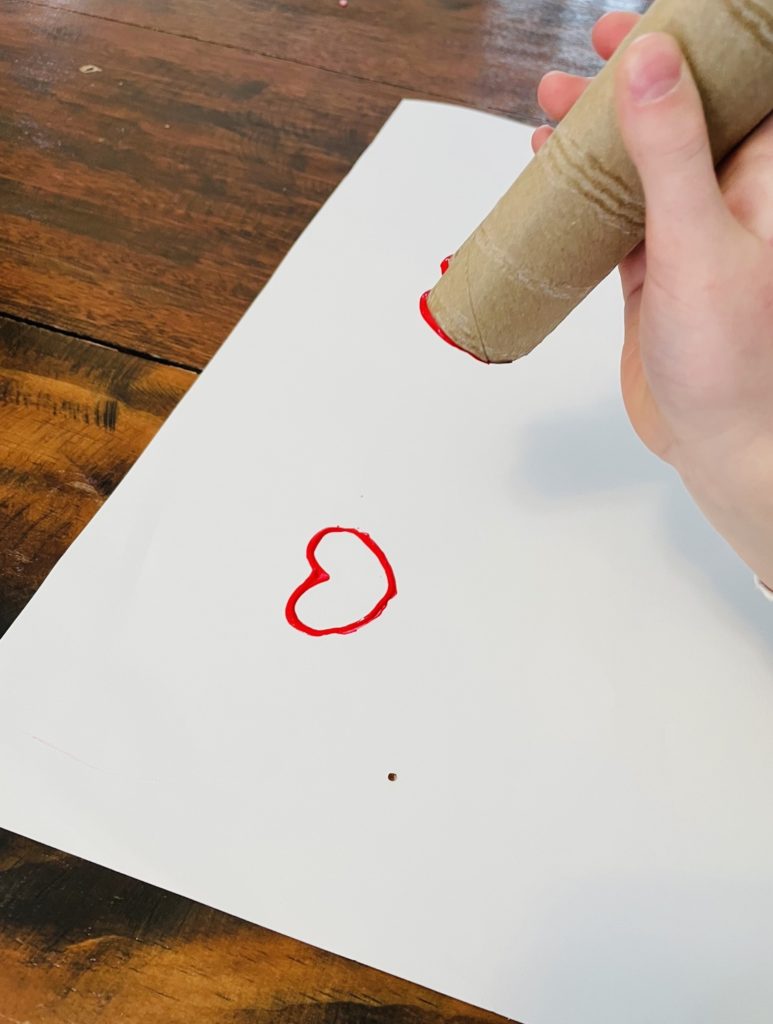
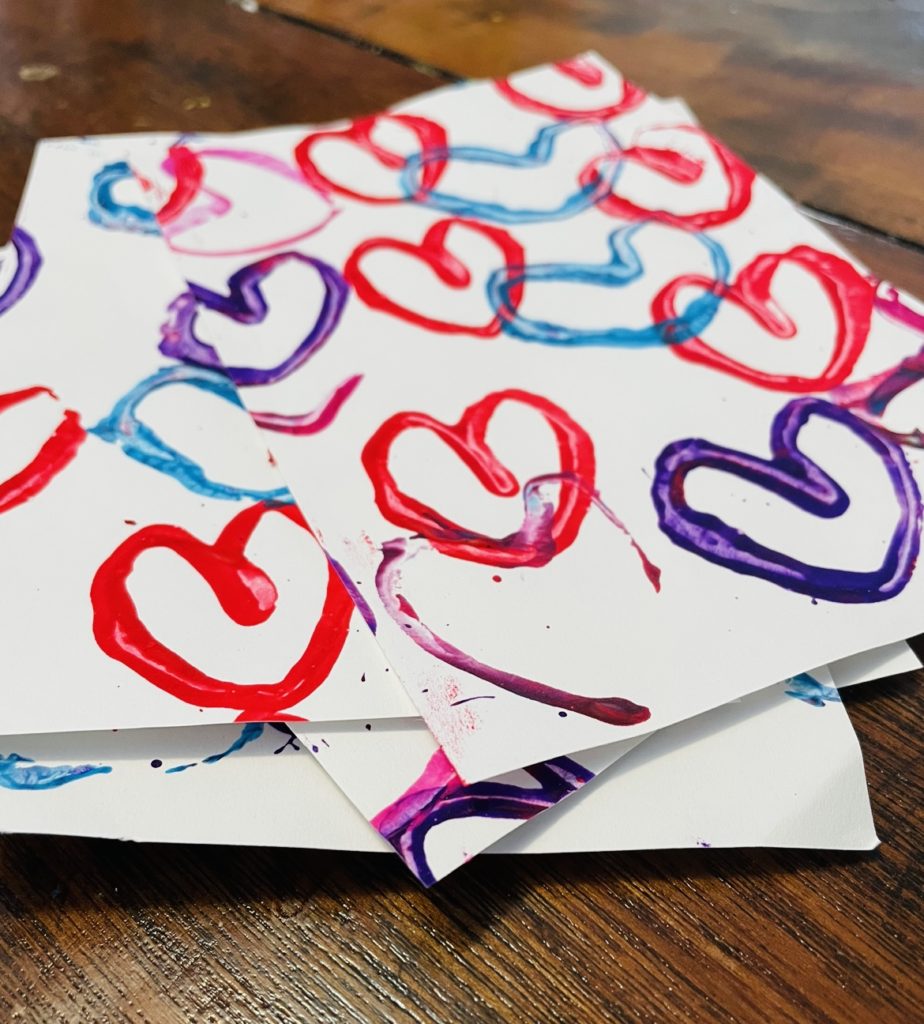
- Form your tube into the shape of a heart.
- Add a staple or a paper clip to hold the shape.
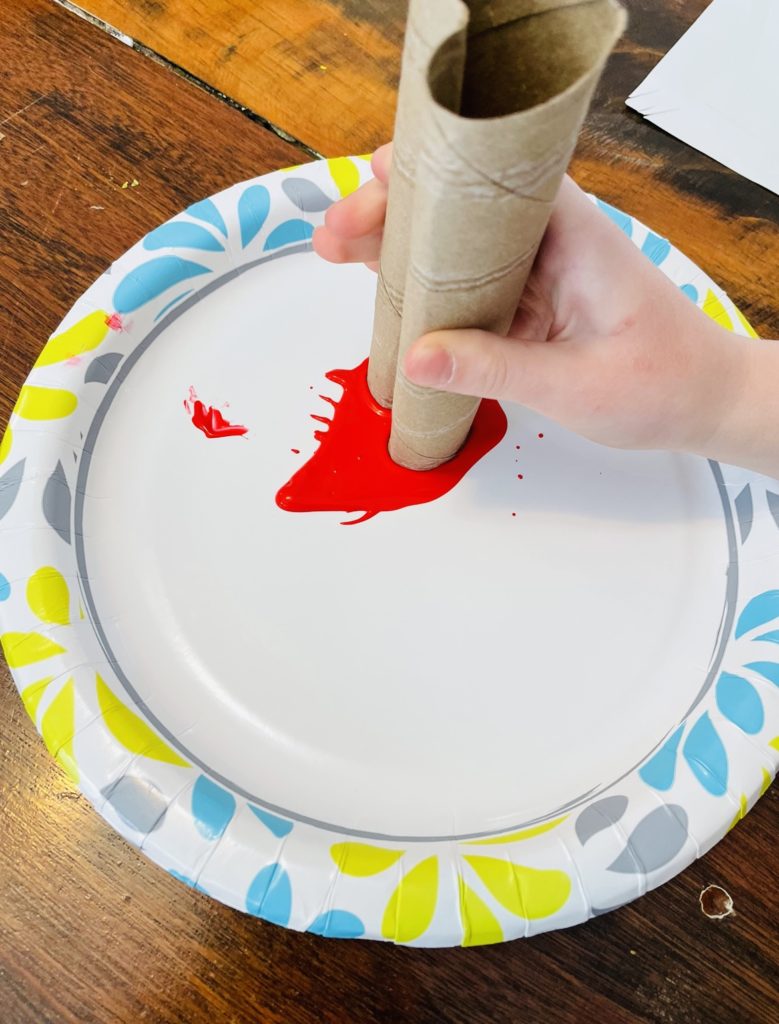
- Drop a little paint onto a paper plate and then shake the plate so the paint settles into an even layer.
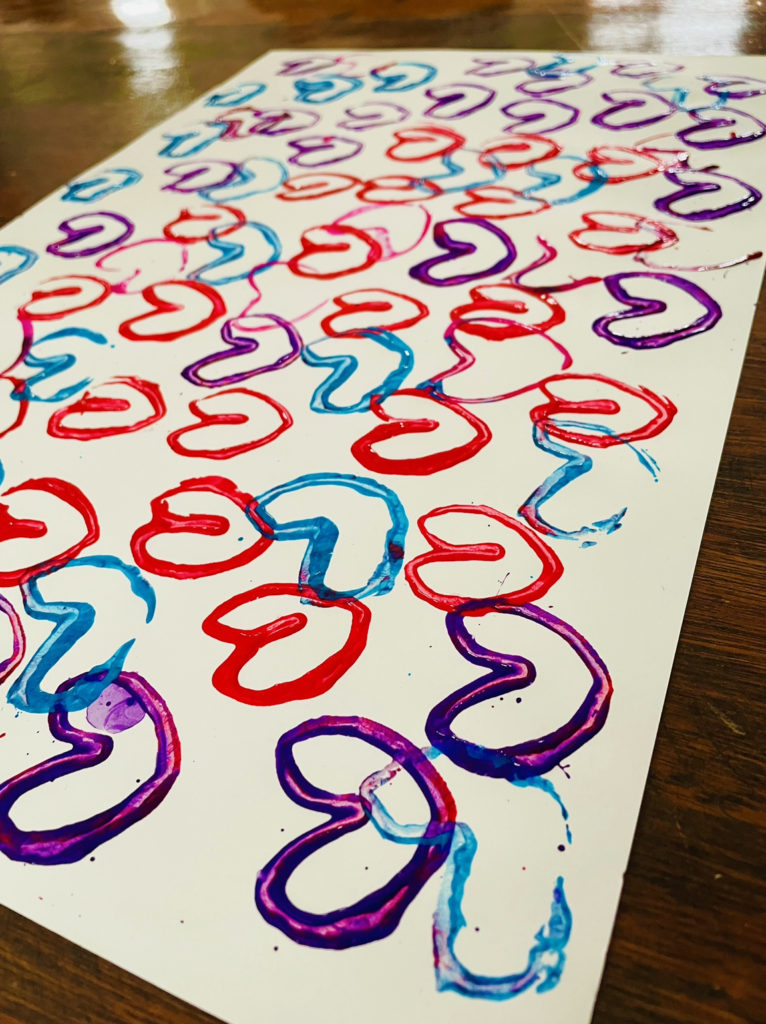
- Dip your heart into the paint and stamp away!
- Experiment with a variety of colors.
TIPS
* Have several cardboard tubes on hand. After continued use, the cardboard will become soft and lose its shape. It would be helpful to have one for each color!
* Experiment with design. Rows, patterns, overlapping and even randomness all offer interesting effects!
* Try different background papers. For example; pale pink hearts would look striking on black paper!
#2 – Marker Bleeding
MATERIALS
Washable Markers (this is key in creating bleeding effect)
Quality Drawing Paper (that will stand up to water and paint)
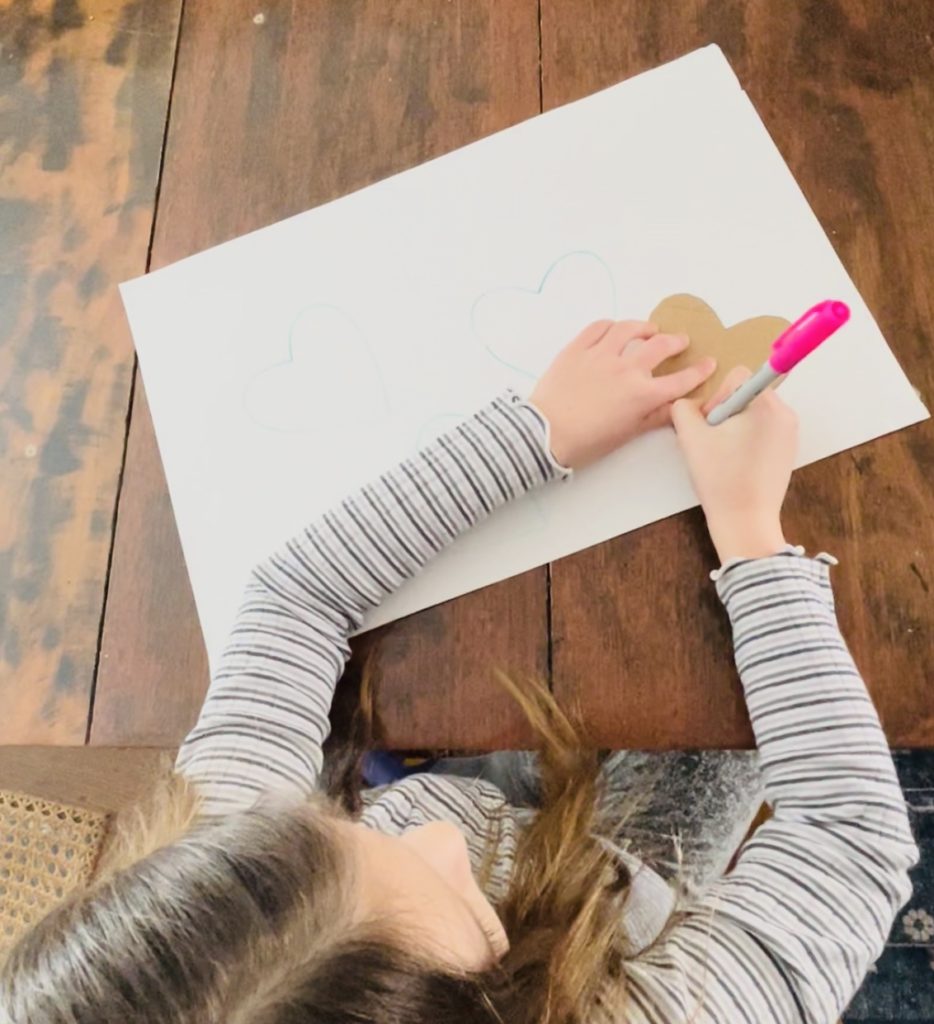
Heart Tracer (cut it out of cardboard)
Water Dish
PROCEDURE
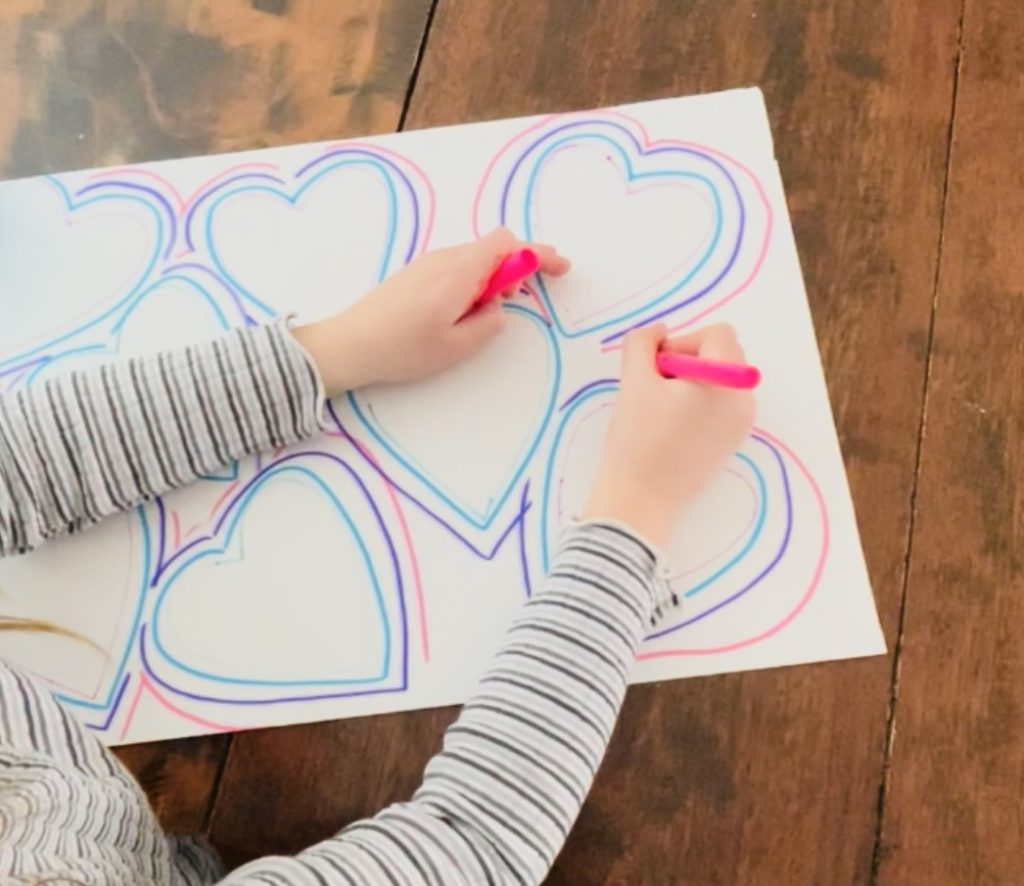
- Trace hearts all over your paper using a brightly colored marker.
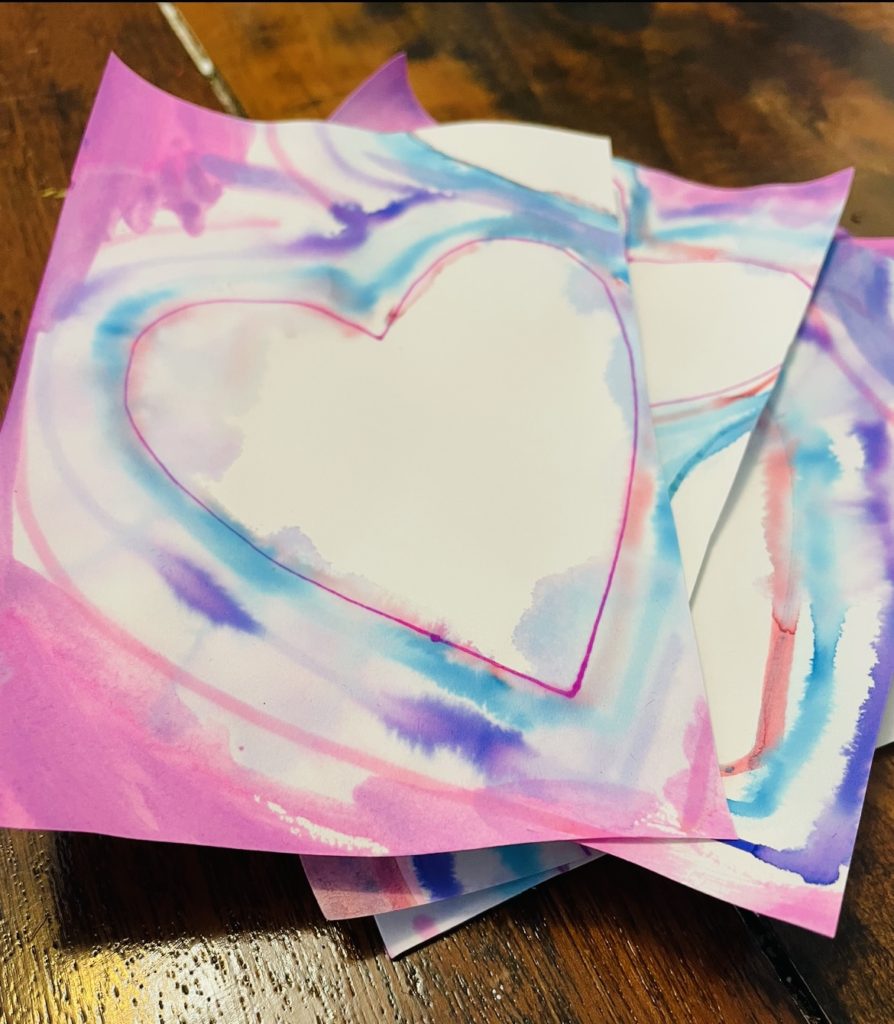
- Using different colors, trace around each heart several time to create a concentric design.
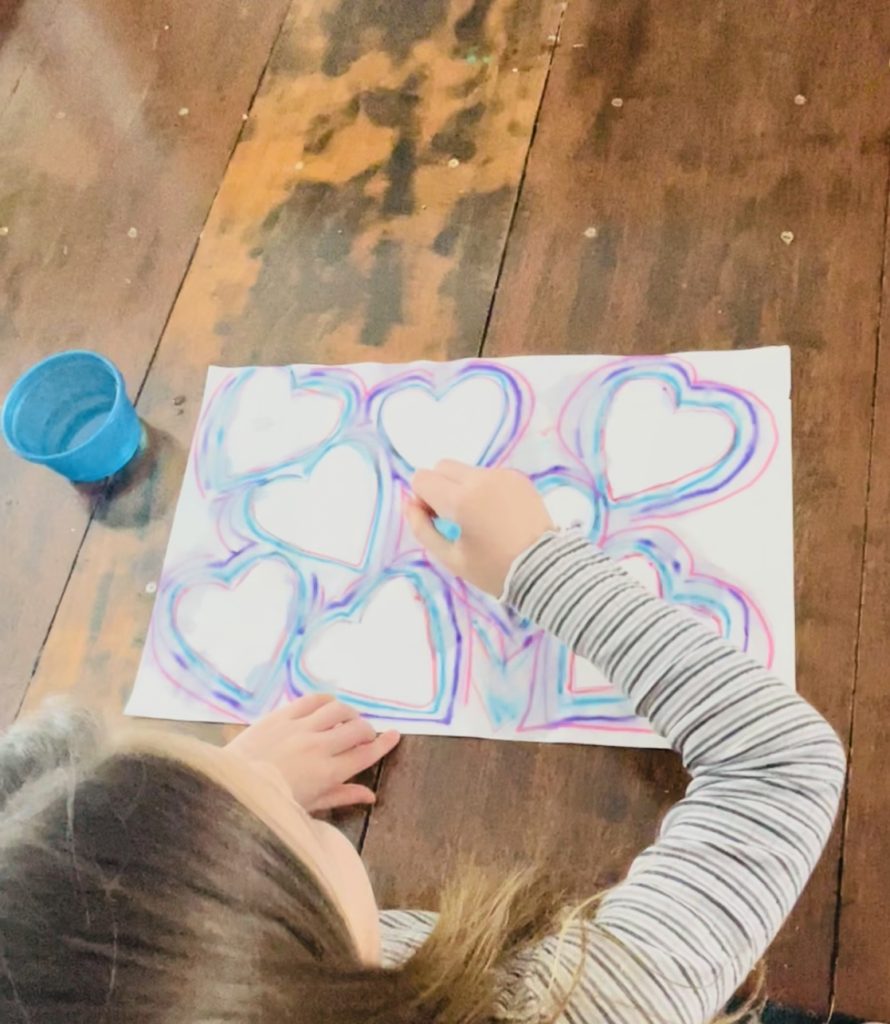
- Paint water over the marker, thoroughly covering each line. Leave the inside of the hearts white.
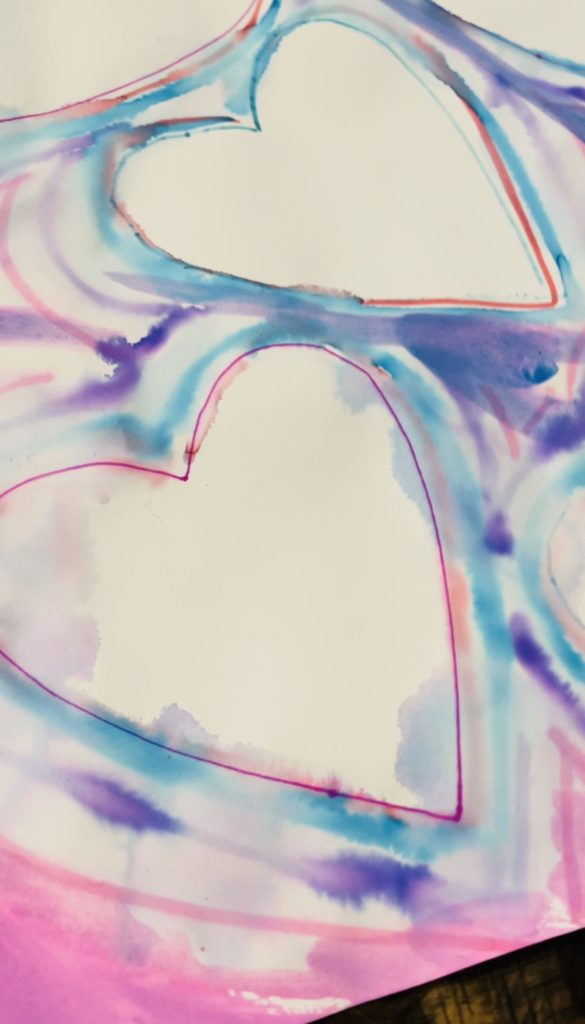
- As the water sits on the markers, the colors will start to bleed. Add more water as needed.
TIPS
* As in the previous example, play with design. Allow some of the hearts to only appear partially on the edges of the paper.
* Think outside of the box when it comes to color! For example; lime green would be bright and unexpected!
* Layer a bit of watercolor. This will increase the variety as the colors run together.
#3 – Chalk Hearts
MATERIALS
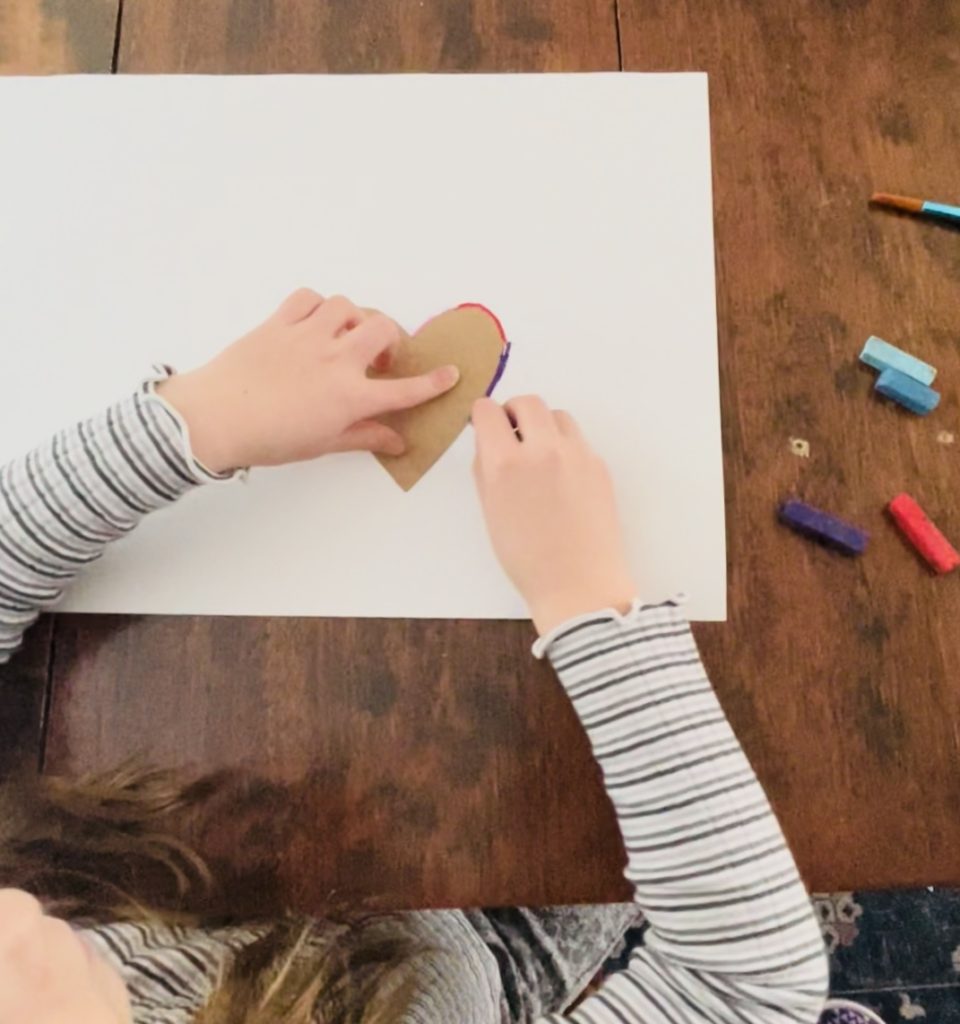
Heart Stencil (cut out of cardboard)
Hair Spray
PROCEDURE
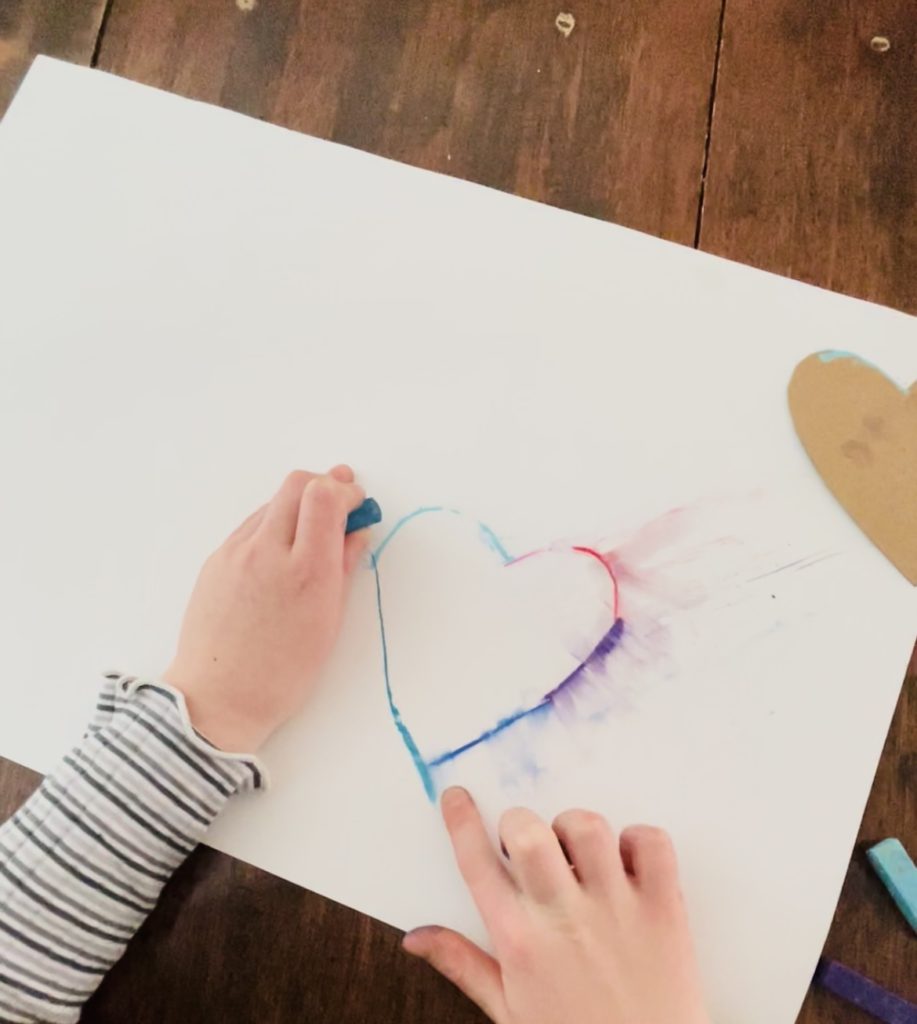
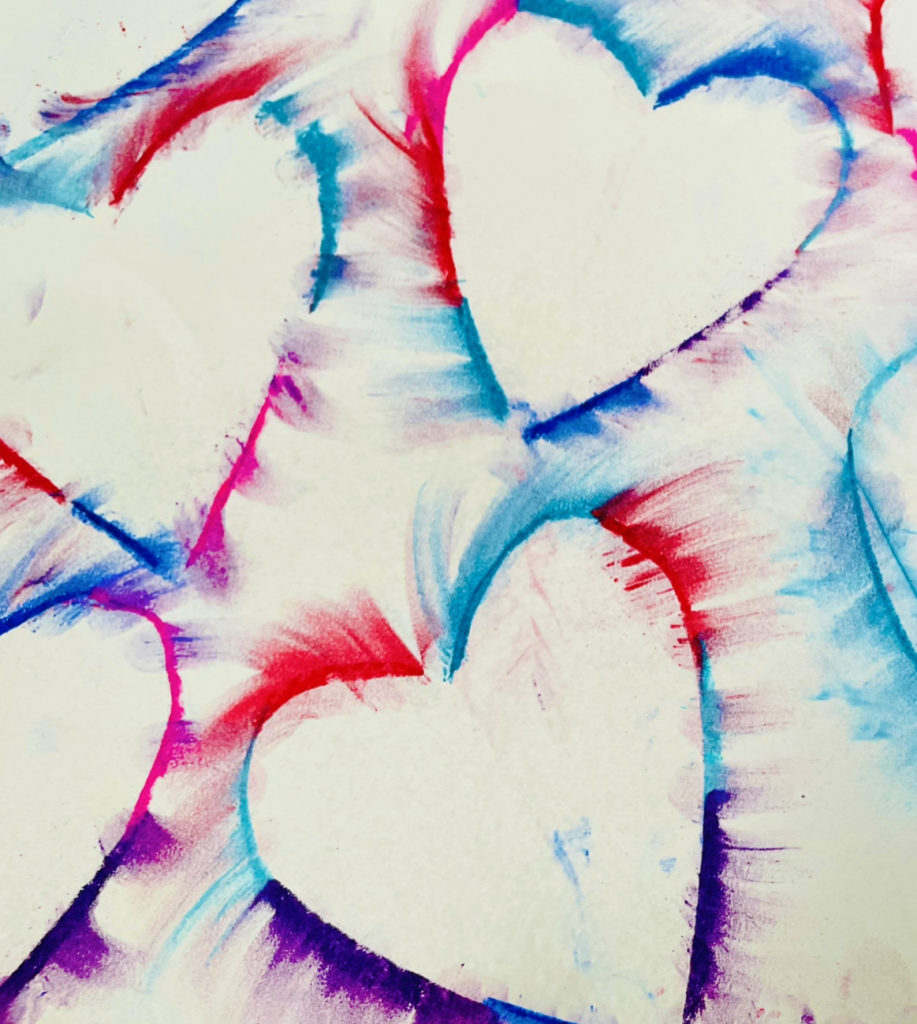
- Trace hearts all over your paper using chalk. Try to use at least 5 colors on each heart outline.
- Use your finger to smudge the chalk outward in streaks, away from the heart.
- Spray with hairspray to keep the chalk from rubbing off.
TIPS
* Choose colors that blend well. For example; red and green smudged together will give you brown!
* If you end up with lots of fingerprints, grab an eraser. Most finger smudges will come off with an eraser.
* Try one heart per card. I love the random look, but it would also look nice to just have one big colorful heart per card.

Finishing Up
Slice and dice the cards however you would like.
- Cut your cards into hearts or just simple squares.
- Use pinking shears to create scalloped edges.
- Mount each card on and colored background.
- Add glitter, sequin or ribbon embellishments.
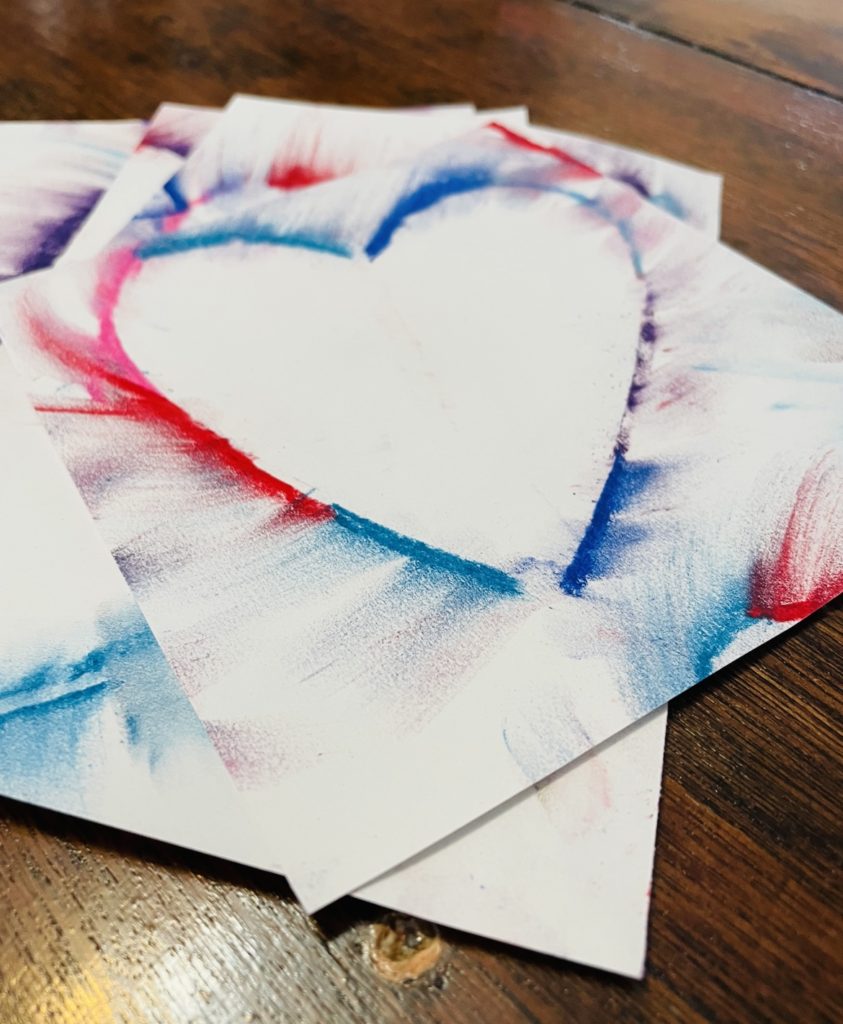
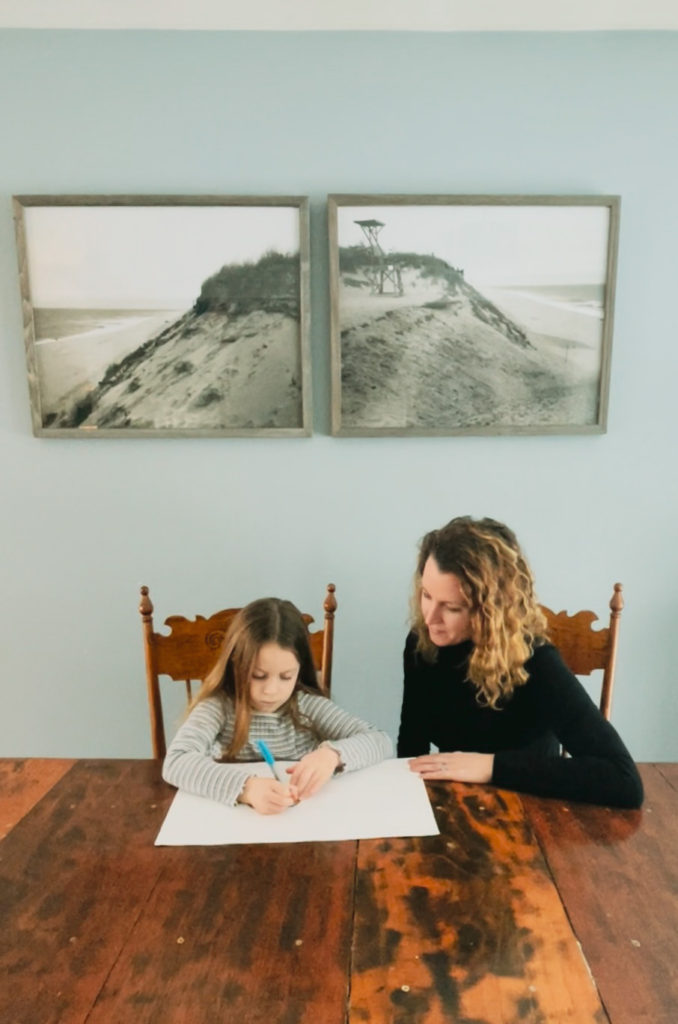
We kept ours pretty simple and came up with a few sweet messages to write on the back.
Remember that art is really more about process than the outcome. You are experimenting, creating memories and attaching meaning. Learning that homemade is a true expression of the heart.
Happy Valentine´s Day!


 you wake up everyday with joy in your heart.