Family traditions are an essential part of our identity. They do an excellent job of keeping us focused on the things that are truly important. Especially around the holidays, when it is so easy to get wrapped up in the hustle and bustle.
My favorite memory from childhood, was the day we got our tree. We would go to a local farm, my dad would pull us on a sled and we would select the perfect tree. When we got home, my mom would pull all the boxes down from the attic and we would carefully unwrap our Christmas treasures. We never had any fancy ornaments. They were all mismatched, mostly homemade and incredibly special. A very old papier-mache village passed down from my grandmother. A small manger that my grandfather built. Everything had a story.
I want my children to have the same memories and the same stories.

I am a firm believer that there is magic in things you make with your hands. It doesn’t really even matter if it looks nice, because the magic is in the way it makes you feel.
So, here is a really quick kid-friendly DIY to try this holiday weekend!
Materials:
Lunch Bags/Favor Bags (white, black, brown)
Hot Glue Gun
Scissors
Fishing Line
Step 1:
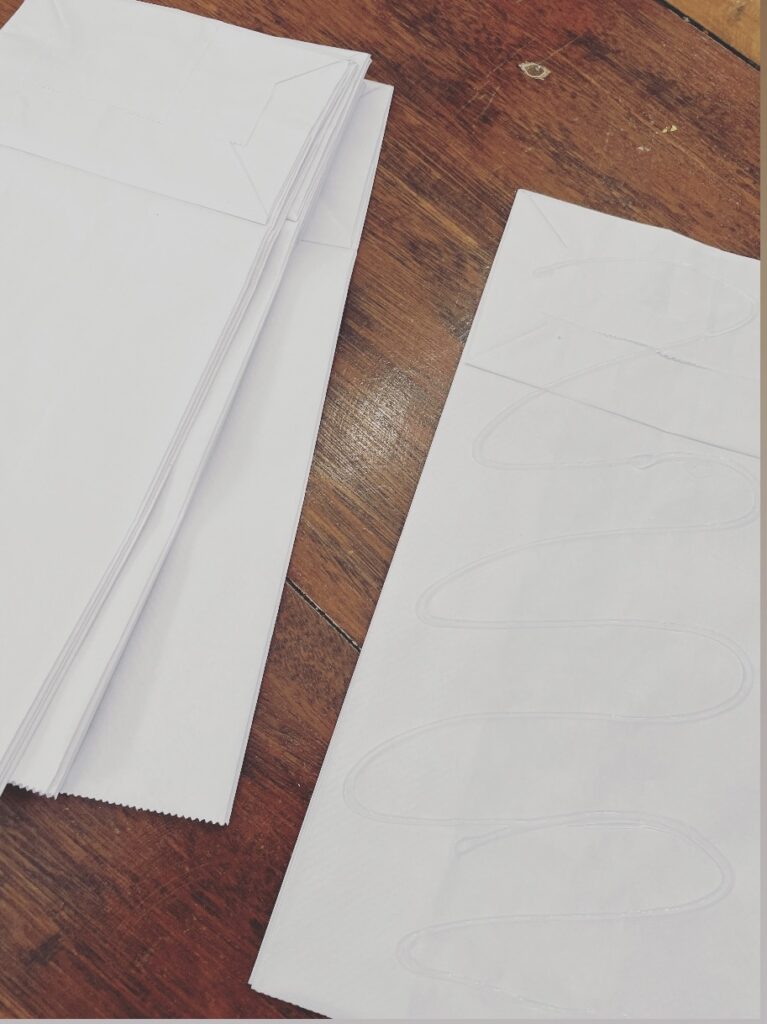
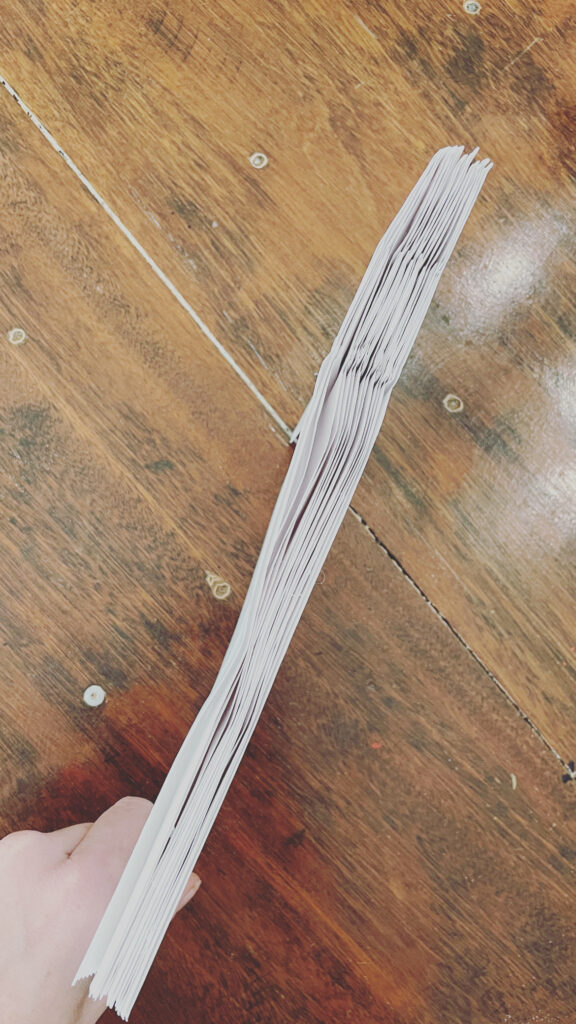
Stack 9 paper bags, folded side facing up. Add a ribbon of hot glue, and then stack the next bag on top. All bags should be facing the same way.
Step 2:
Once you have all 9 bags stacked, press down to make as flat as possible. This will make it easier to cut.
Step 3:
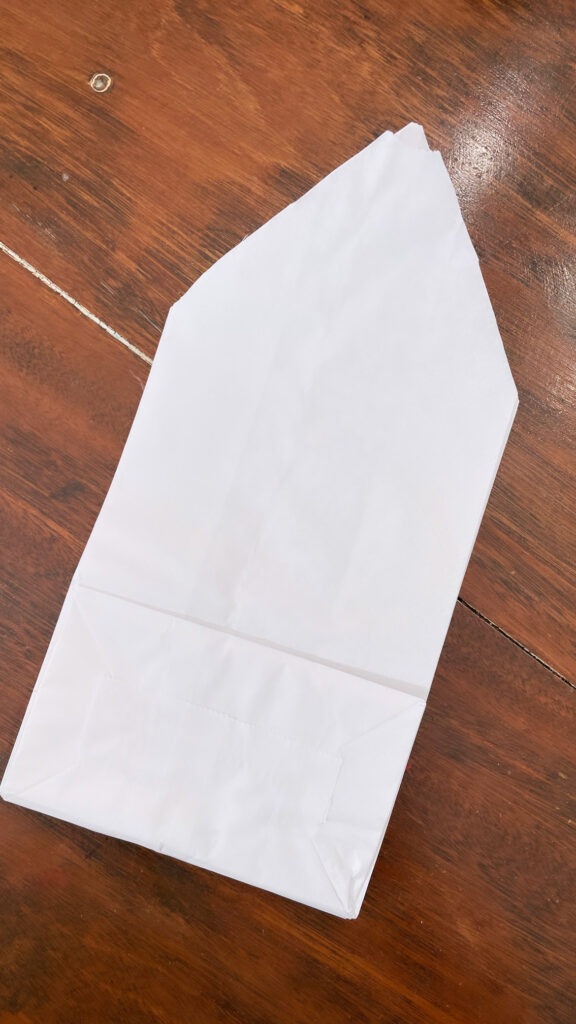
Cut the flat edge (not end with fold) into a point. This DOES NOT have to be perfect.
Step 4:
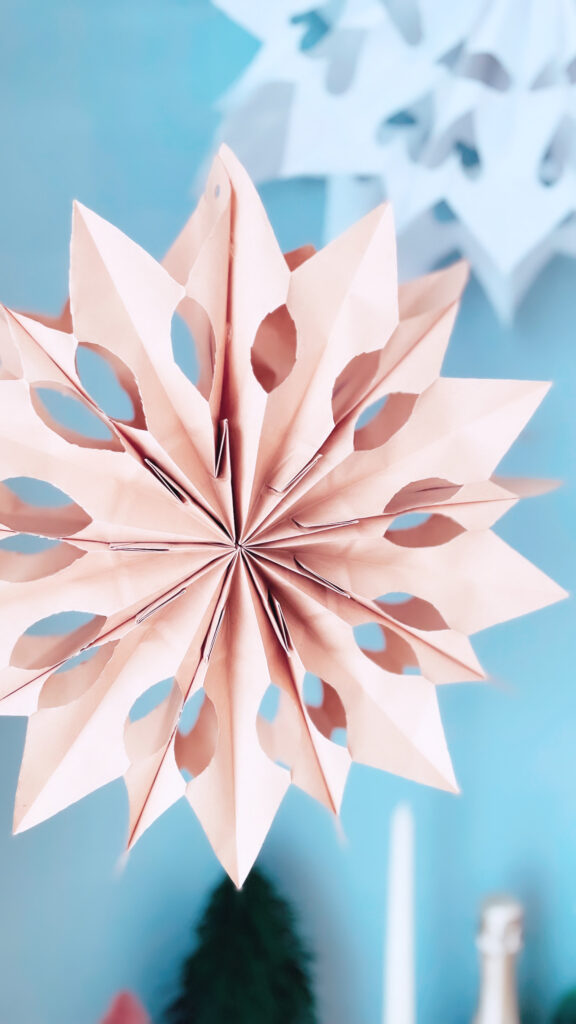
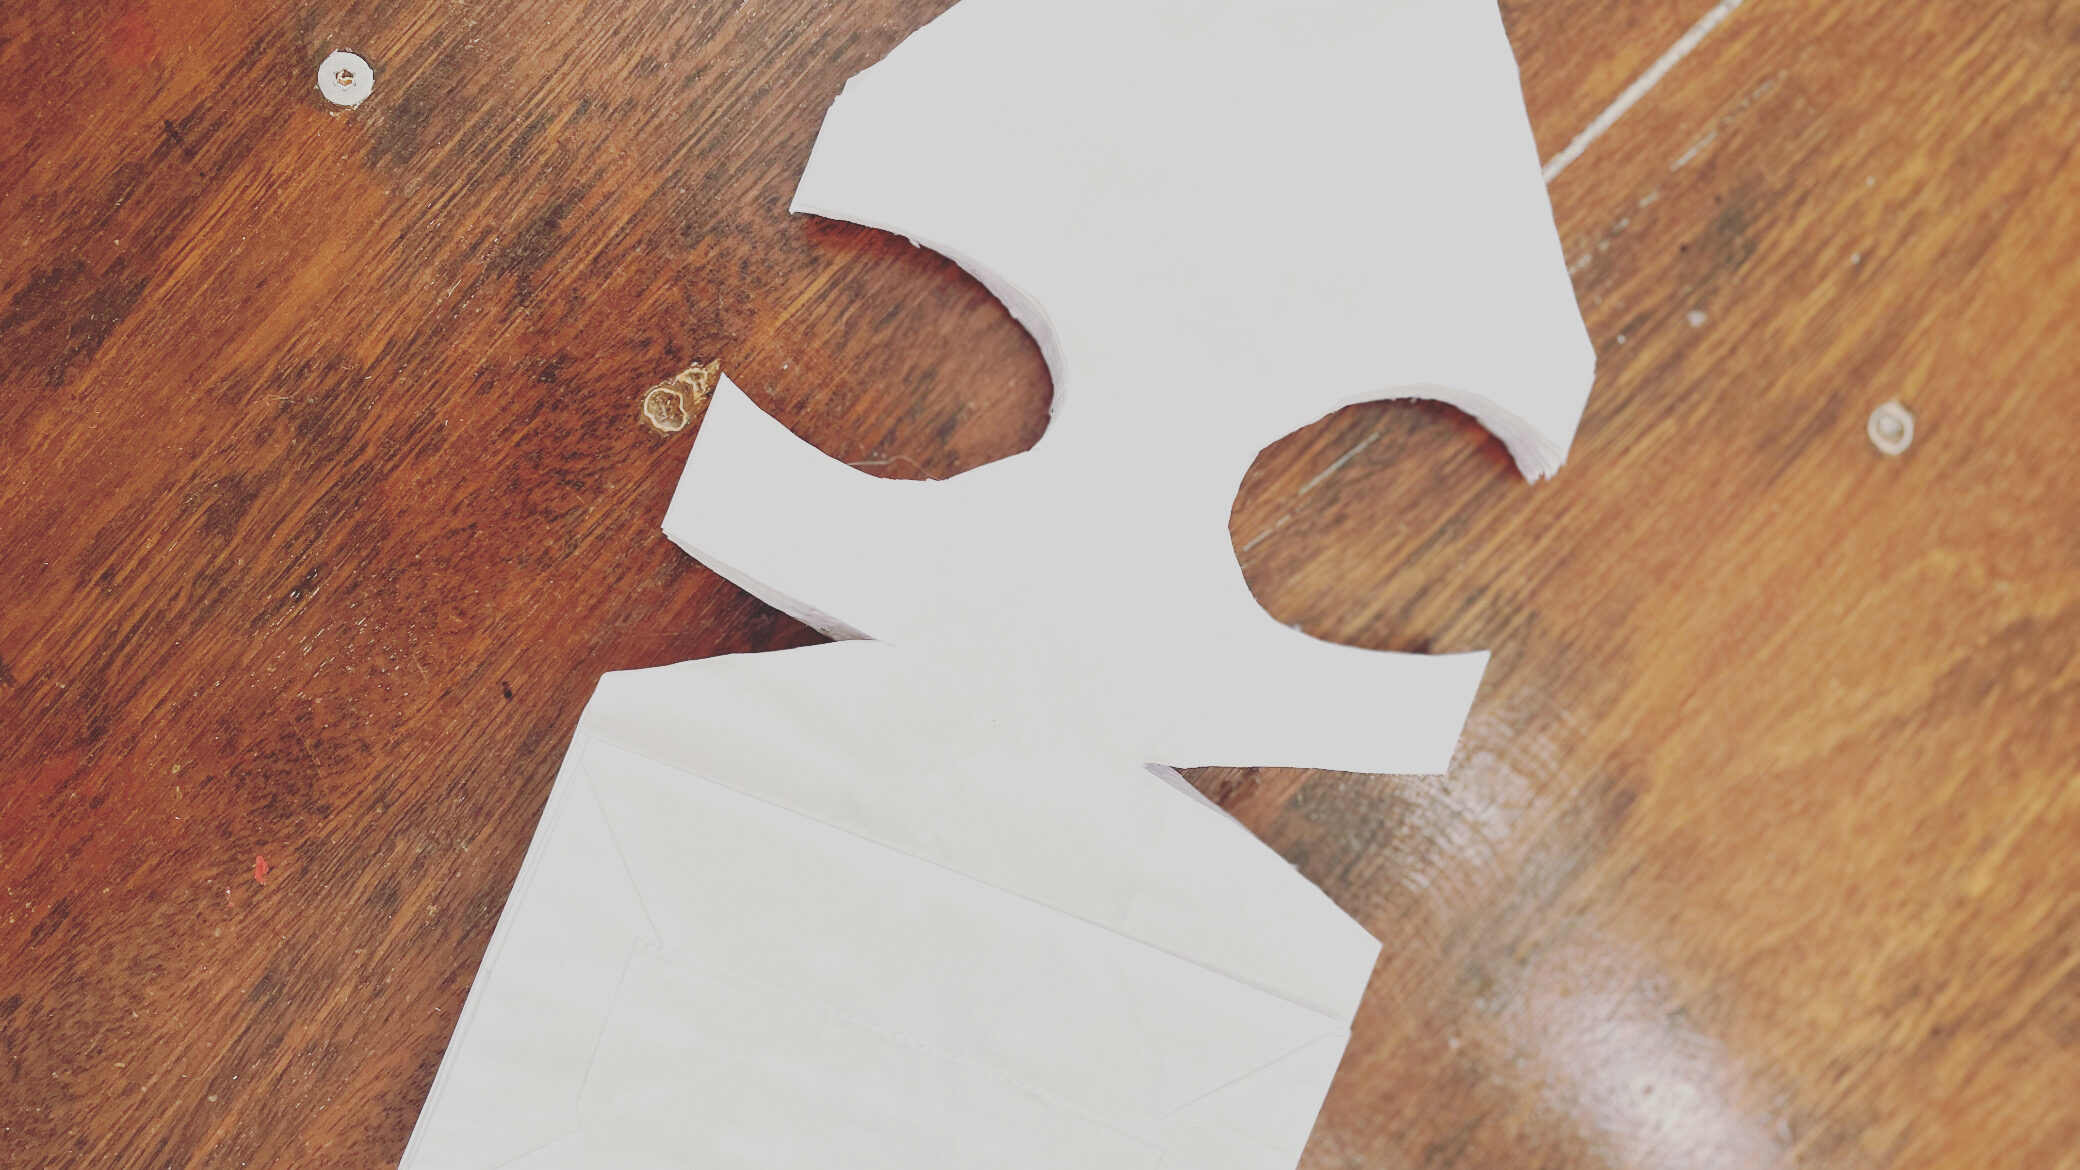
Now, you are ready to cut shapes. This is the same exact process as cutting a snowflake. Because the stack of bags is thick, you will not be able to cut intricate shapes. Think simple! To make each star different, you might want to vary the quality of the shapes for each star. For example, I used rounded shapes for some and pointed shapes for others. In the example below I show both rounded and pointed shapes. It does not have to be complicated.
Step 5:
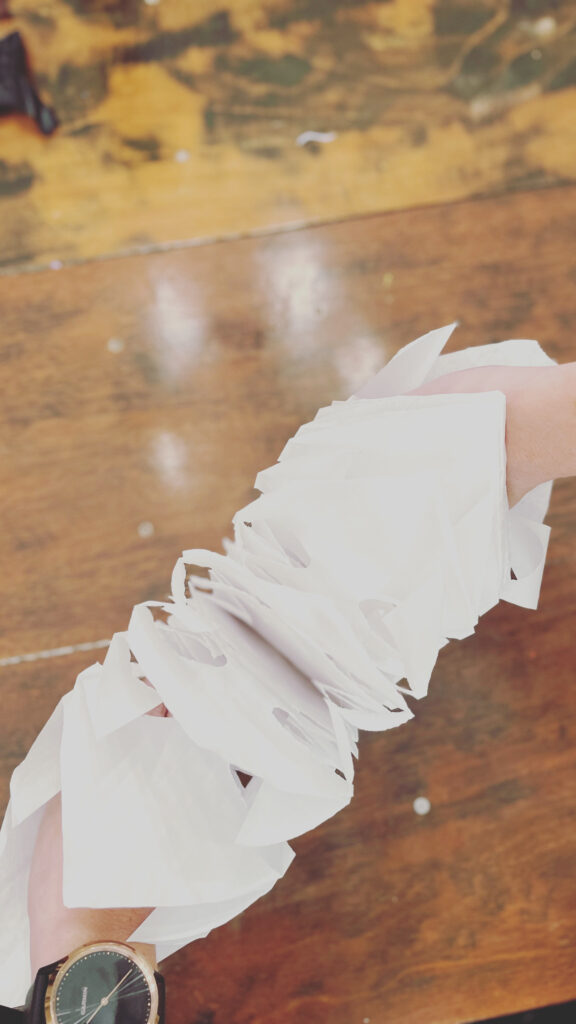
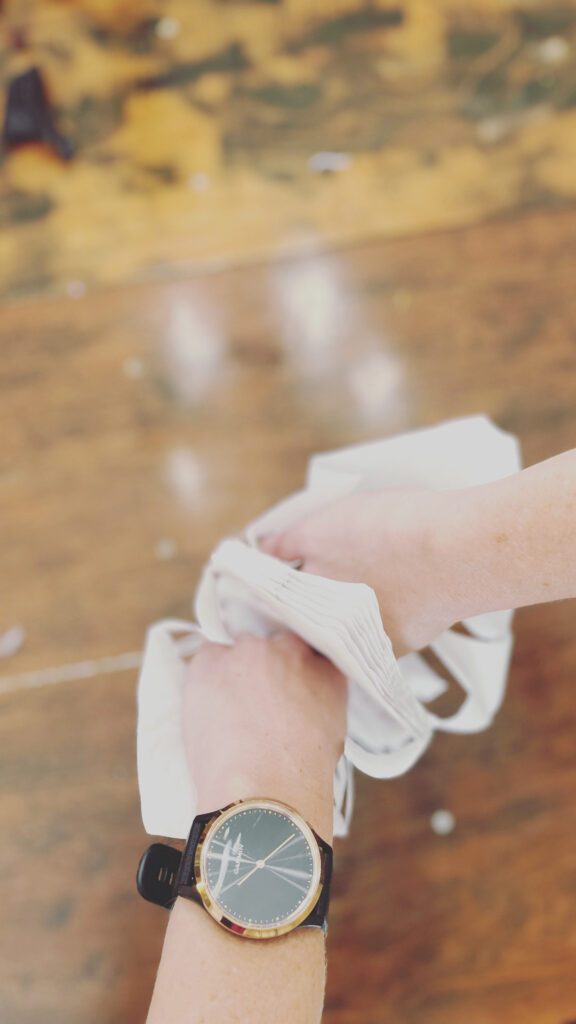
This is the most important step! Place your hands in the bags on the very outside of your stack as shown below. Open slowly, and bring the ends together to touch. This will keep your folds as sharp as possible and prevent any twisting.
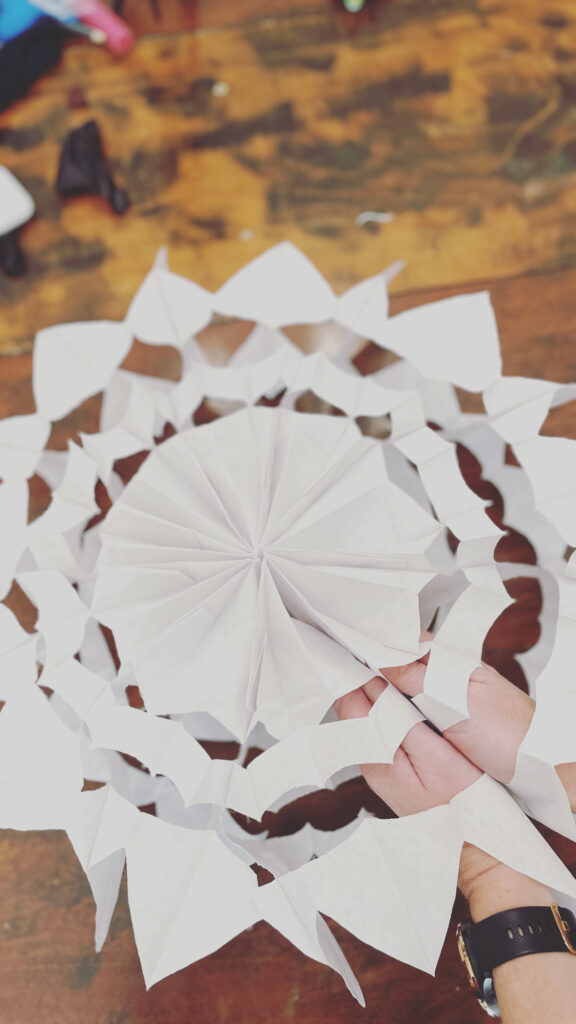
Step 6:
Hot glue the edges together, trying to line them up as best you can.
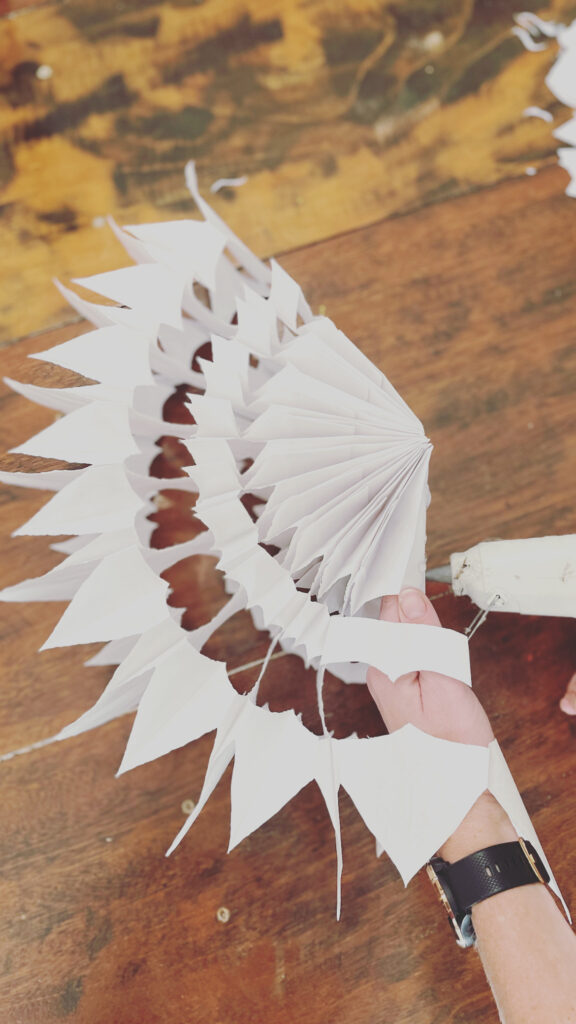
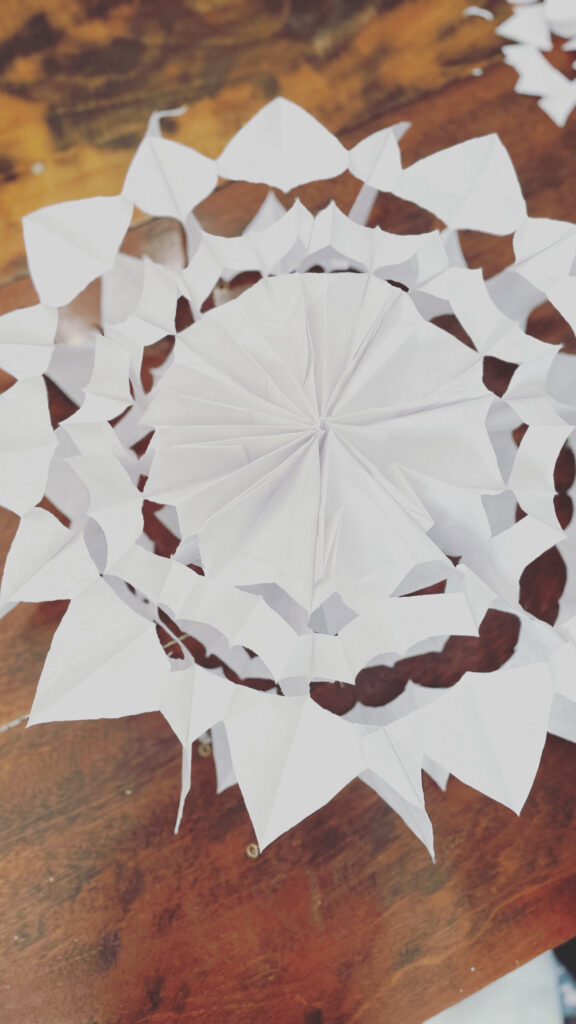
Step 7:
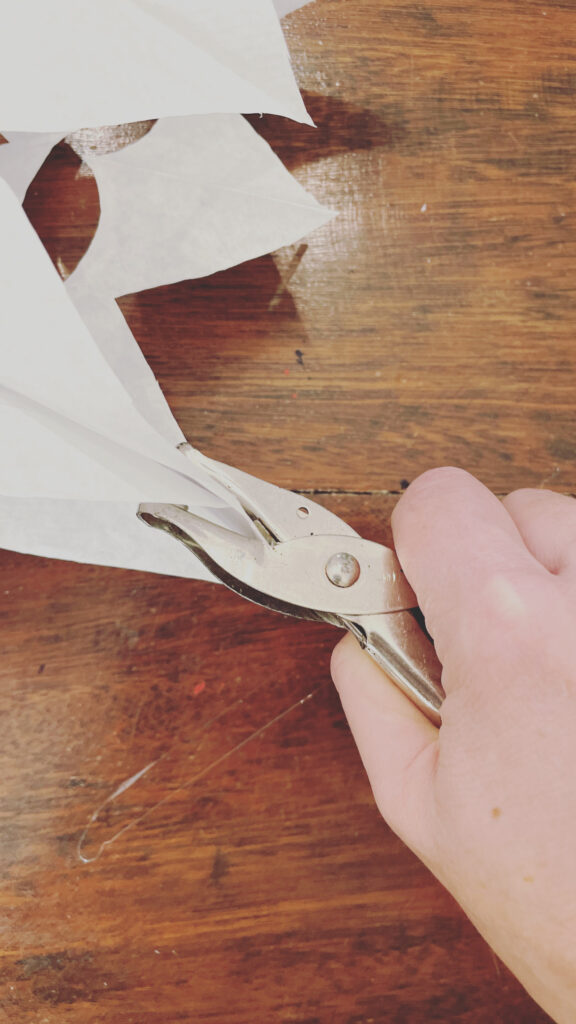
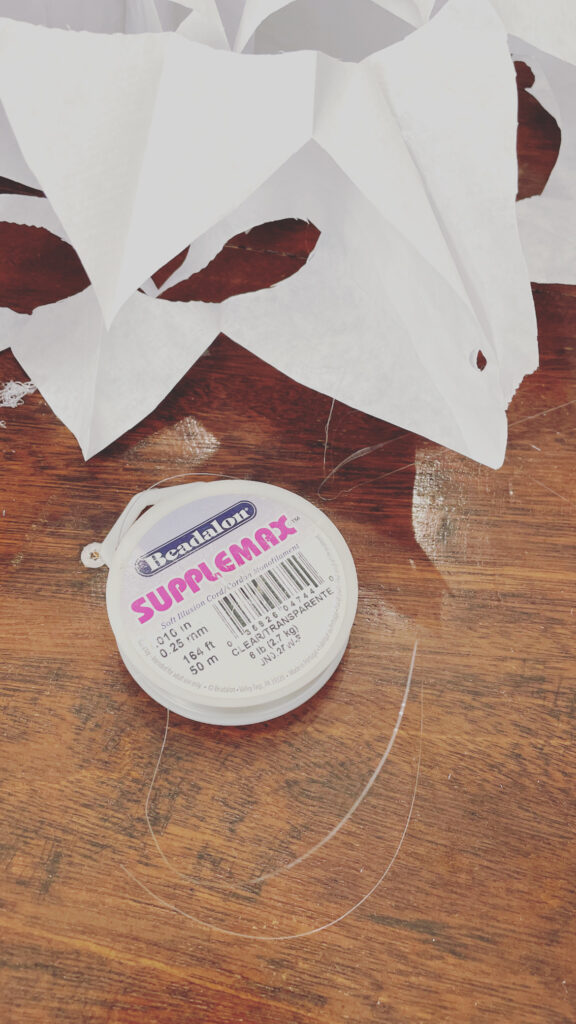
Use a hole punch, to make a hole on the edges that you glued. The glue will reinforce the area and prevent tearing. Use a clear string or fishing line to hang!
Step 8:
Repeat the process! I was able to find a lot of different color bags at Michael’s. Look in the party section. Red, green, gold – the possibilities are endless! I would also purchase more than you think you need. We messed up on a few and some looked too similar. I hung the extras in the kids rooms!
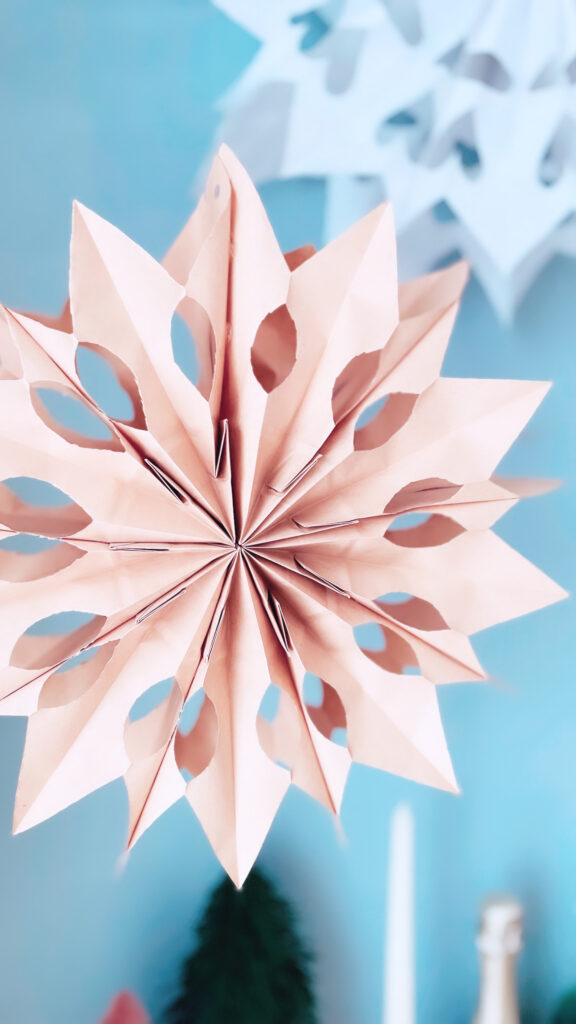

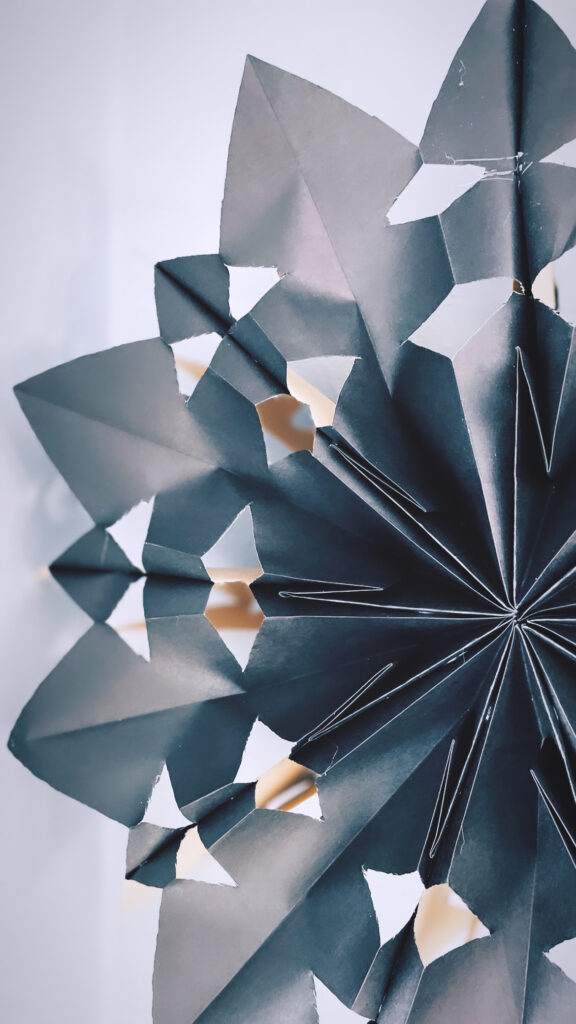
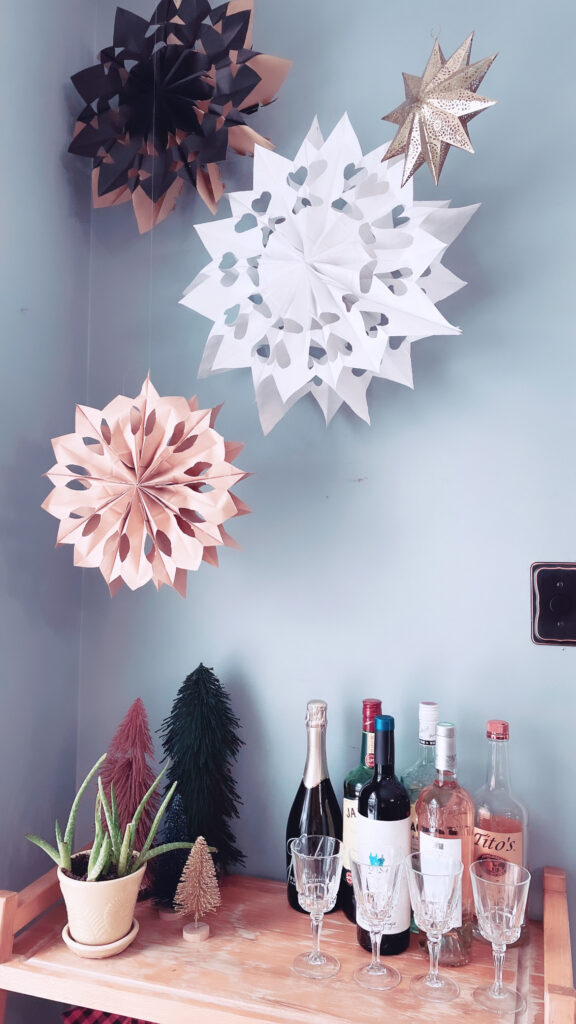
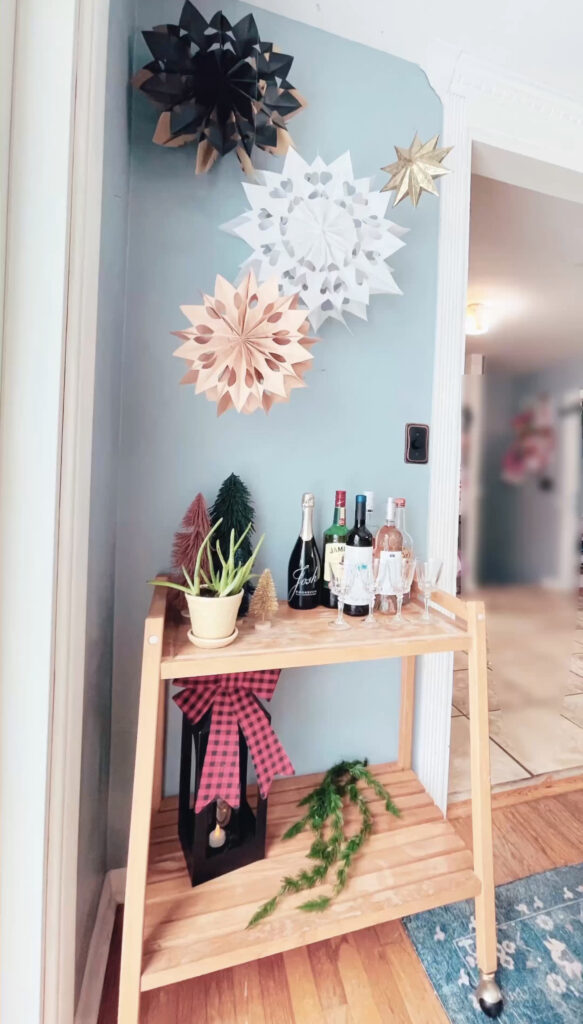
I hung the most unique stars above my bar cart, and also added a little gold star that I found at our Co-Op. I think they add a little bit of whimsy to our decor!
Let me know if you give it a try!
