Halloween fever has officially descended! This is the holiday that I look forward to the most when it comes to decorating. Before I had kids I began collecting decorations and also pieces of the Dept. 56 Halloween Village. Each year I added a new piece to my little town – I sometimes joke that it is my life savings. After kids, the Halloween Village had to go into retirement for a few years after several figures lost their heads.
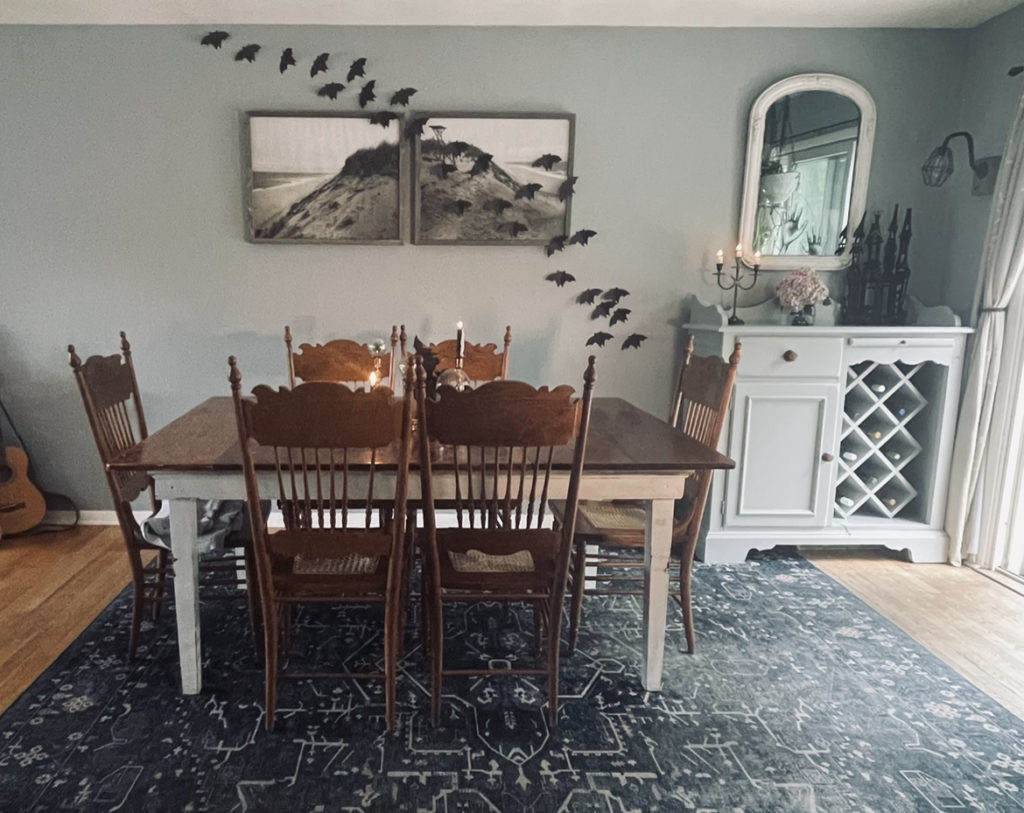
It is also a fun time for crafting and DIYs, because they can become the most charming decor! I decide to try my hand at a few ideas I saw online to create a simple look in my dining space. This is a high traffic area so I had to be thoughtful with my details!
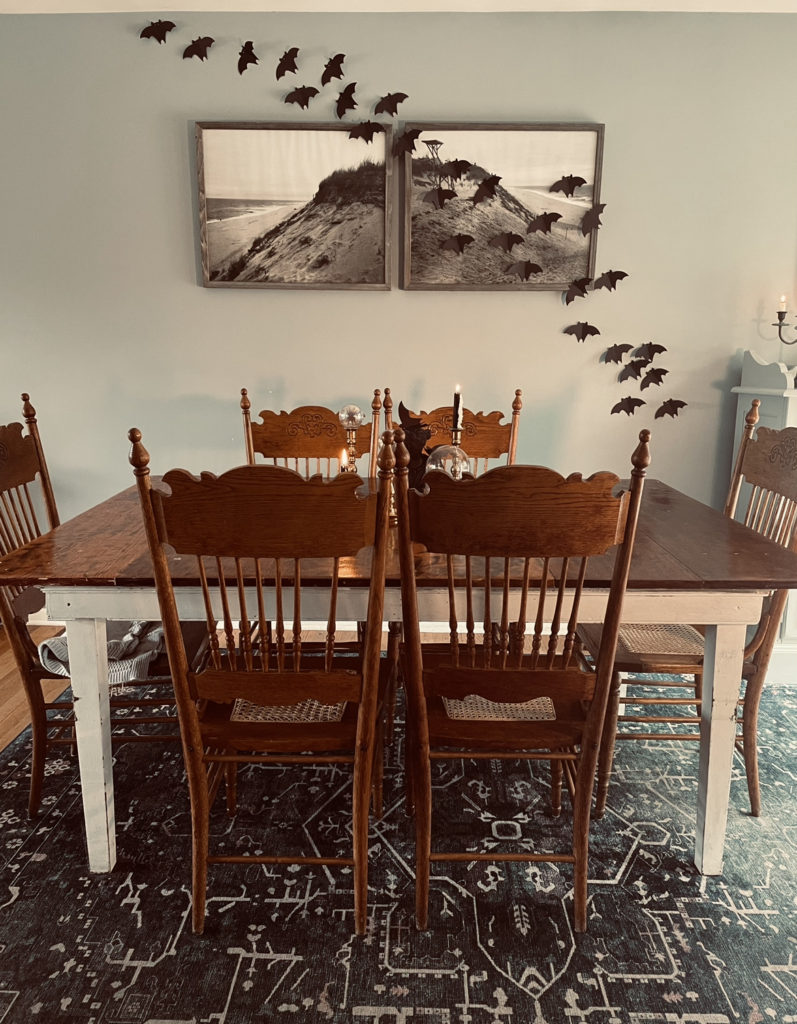
The first thing that I wanted to do was add some fun wall art. I have come across some really creative looks with stars, spiders and even butterflies, but I decided to stick with bats!
Because my wall already has framed art, I decided to keep my bats the same size so that it didn’t become too busy. This look is so simple to pull off. Paper bats are very easy to find on Amazon here, but it is just as easy to make your own. I suggest finding an image/shape online and tracing it so that the bats are uniform. Also – cut the bats like you would a heart. Fold the paper and trace half, so that they are symmetrical. The fold in the center will also make the bats appear 3-D against the wall. Finally, if you want to you can punch holes for eyes with a mini hole punch.
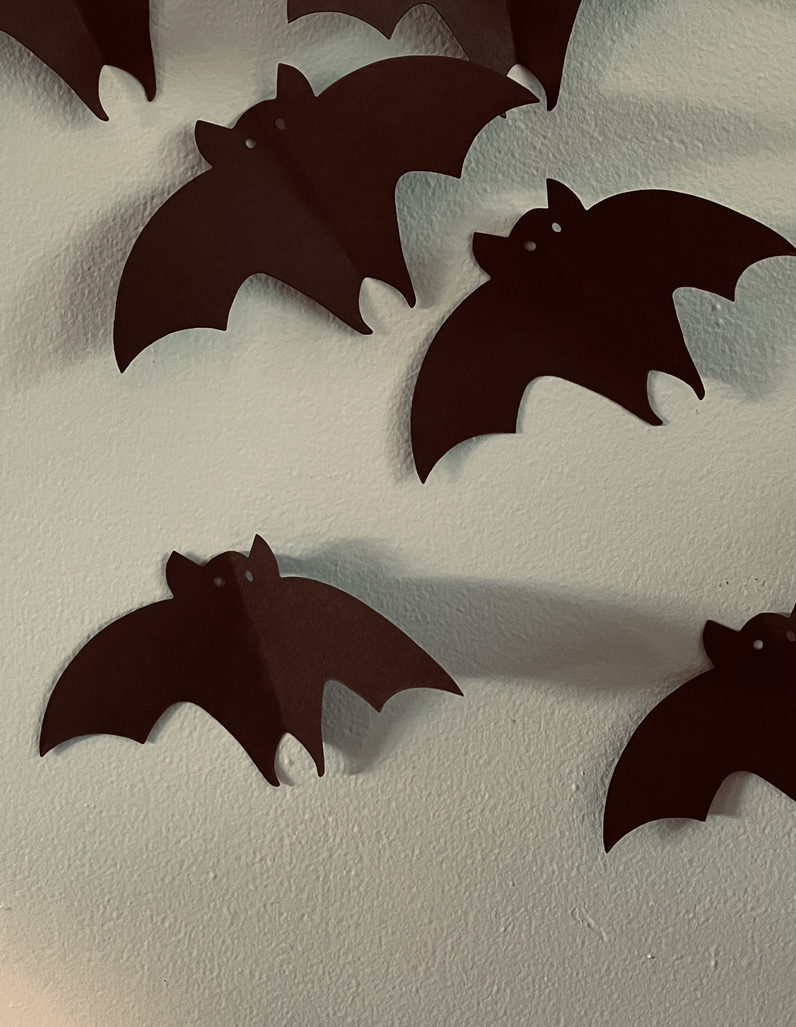
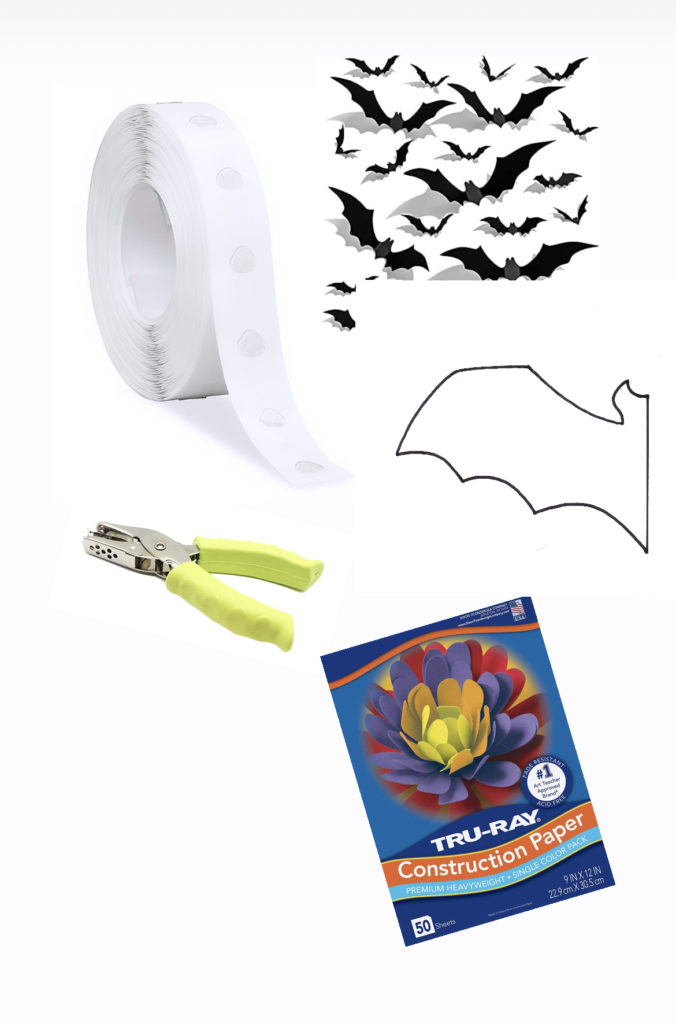
A note on application. I adhered each bat to the wall with a glue dot that was cut in half. To create movement, apply them in different densities. For example, a few that are singles, a grouping, smaller clusters, etc. Also, do not apply them so that they are all facing the same way. It looks more natural if they are tilting in different directions.
Materials for Bats:
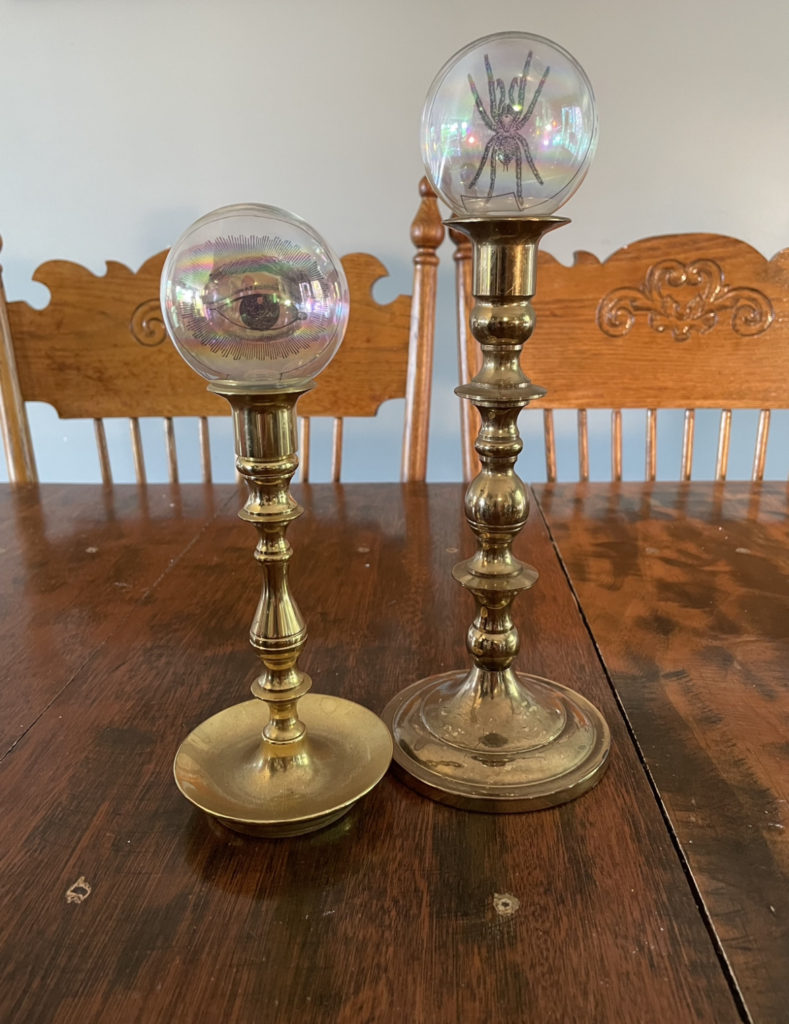
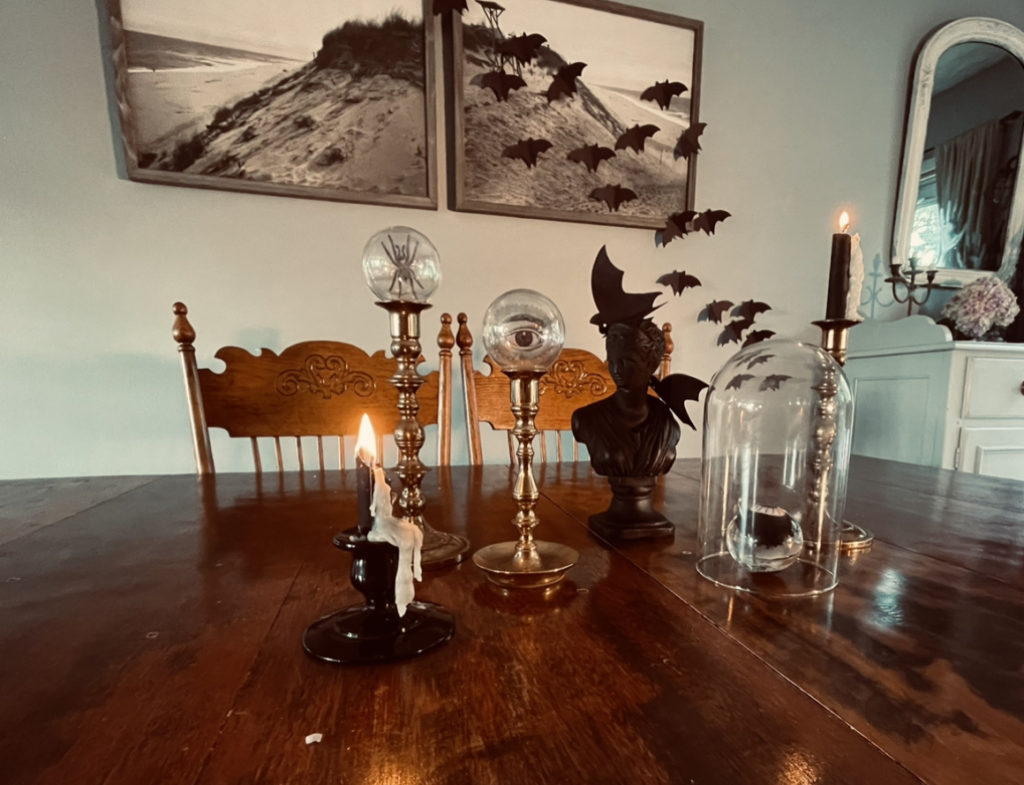
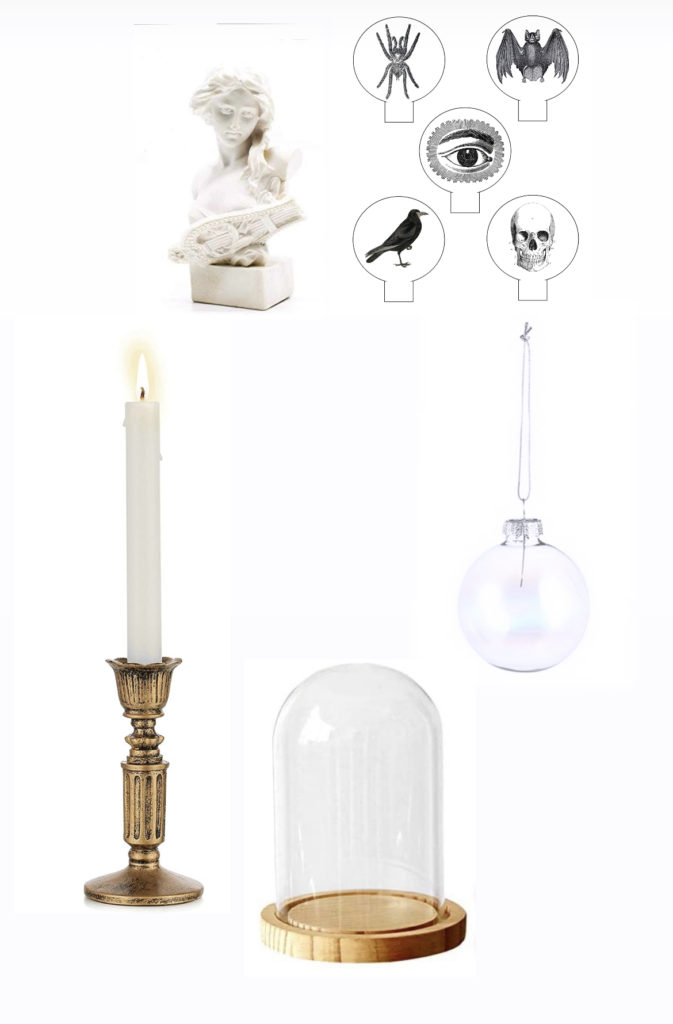
Next up – the Tablescape! My mother and I headed to the local thrift store and it was a HUGE score. I found candlestick holders, a glass dome, the stone bust and a few glass Christmas ornaments. The candle stick holders were $8 each for the gold and $2 for the black. I thought about painting them all black, but decided to keep the gold ones as-is so I could use them throughout the year. Either way they were perfect for my crystal balls.
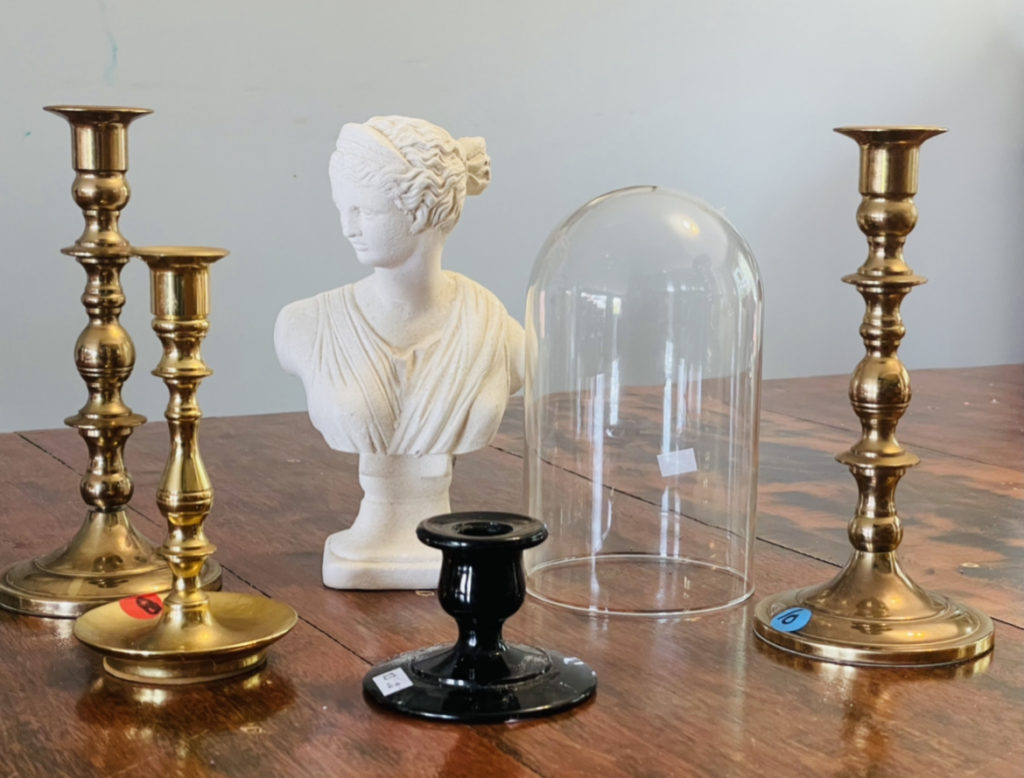
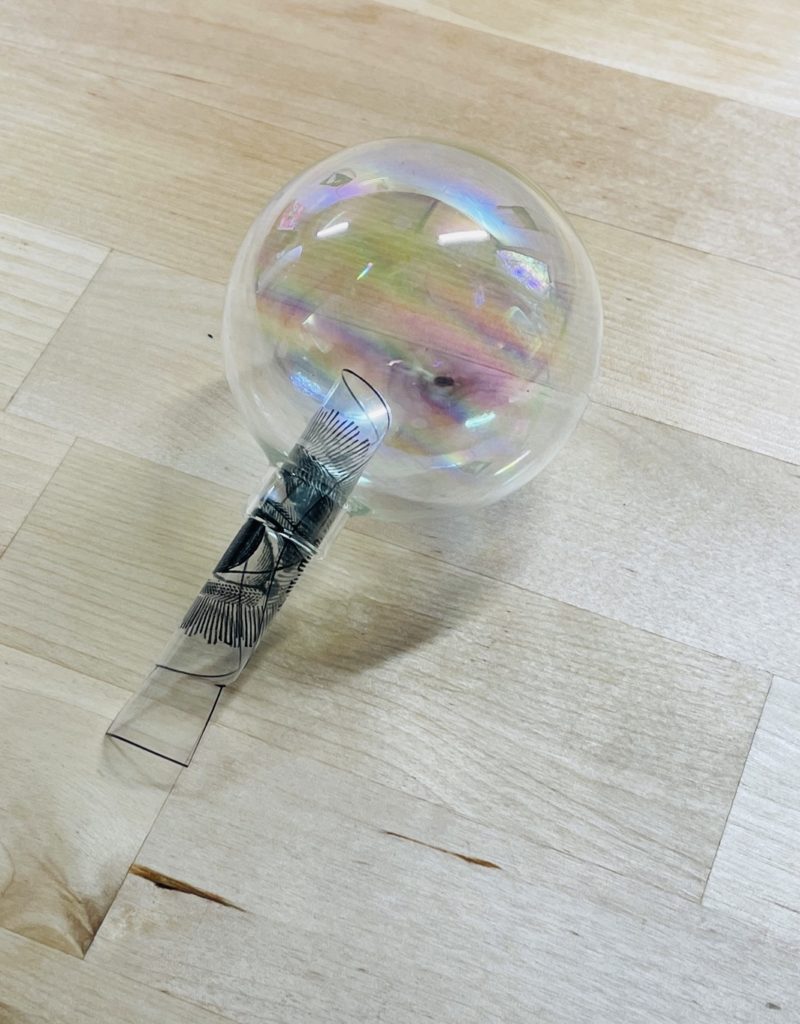
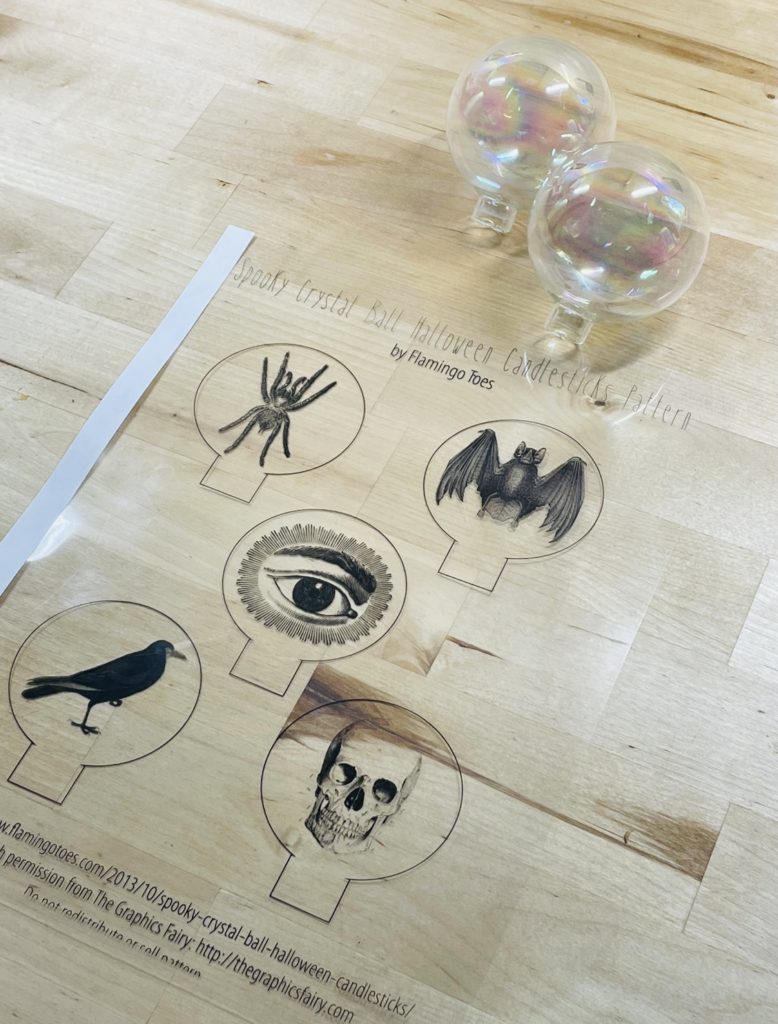
I saw the idea for DIY crystal balls on Pinterest and the Graphics Fairy has an AWESOME template. I printed the images on transparency paper at Staples, but you could do it at home if you have an inkjet printer. After you cut the images you want, roll them up so they will fit through the hole in the ornament. It helps to have some tweezers handy so that you can adjust them.
Next, turn them over and they will lay perfectly in your candlestick holders. Done! Simple and fun, plus they add great reflective quality.
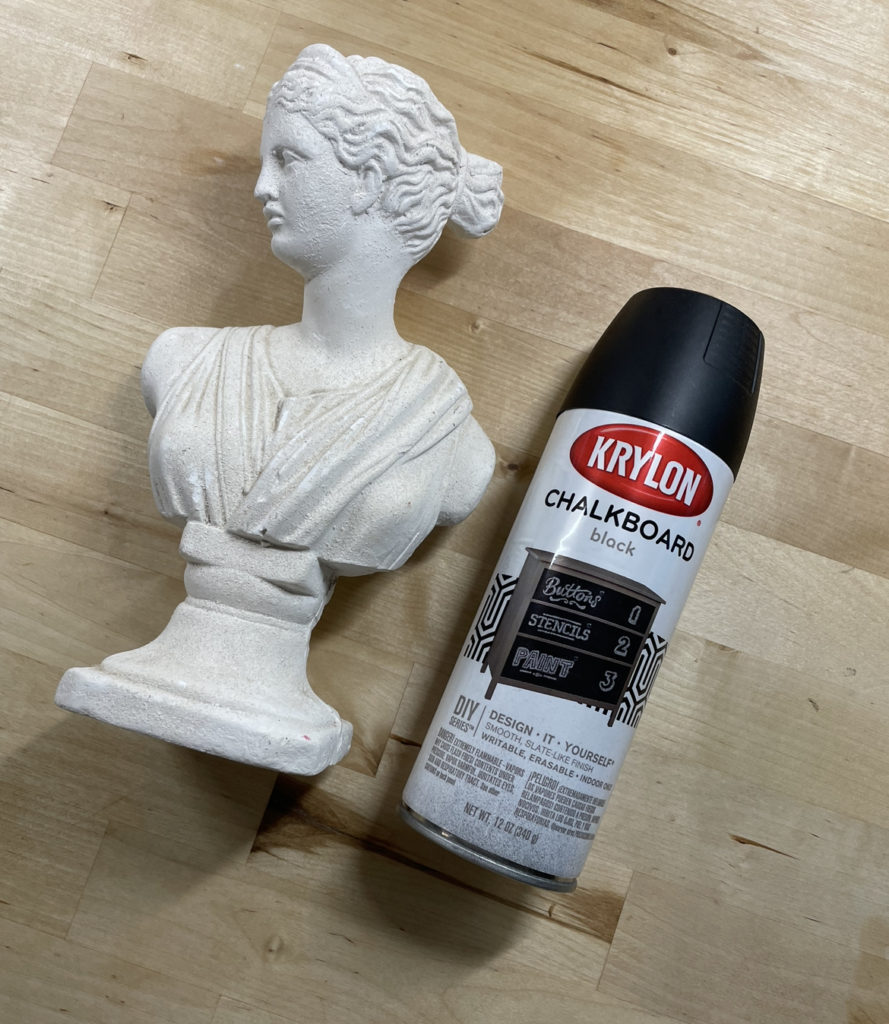
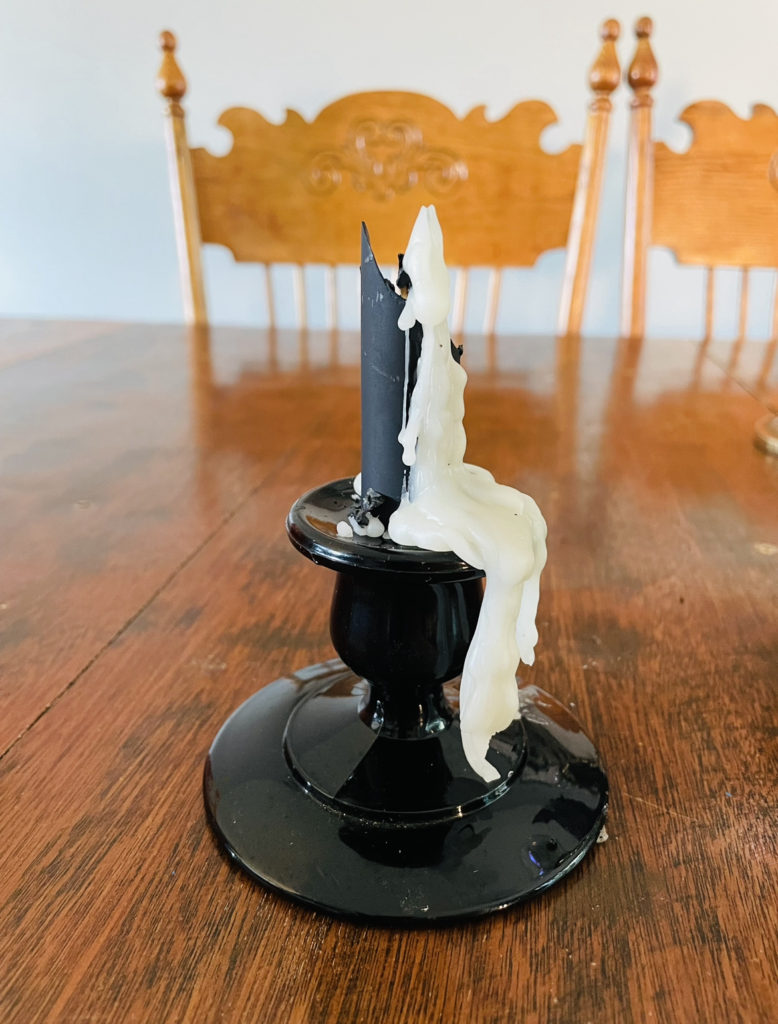
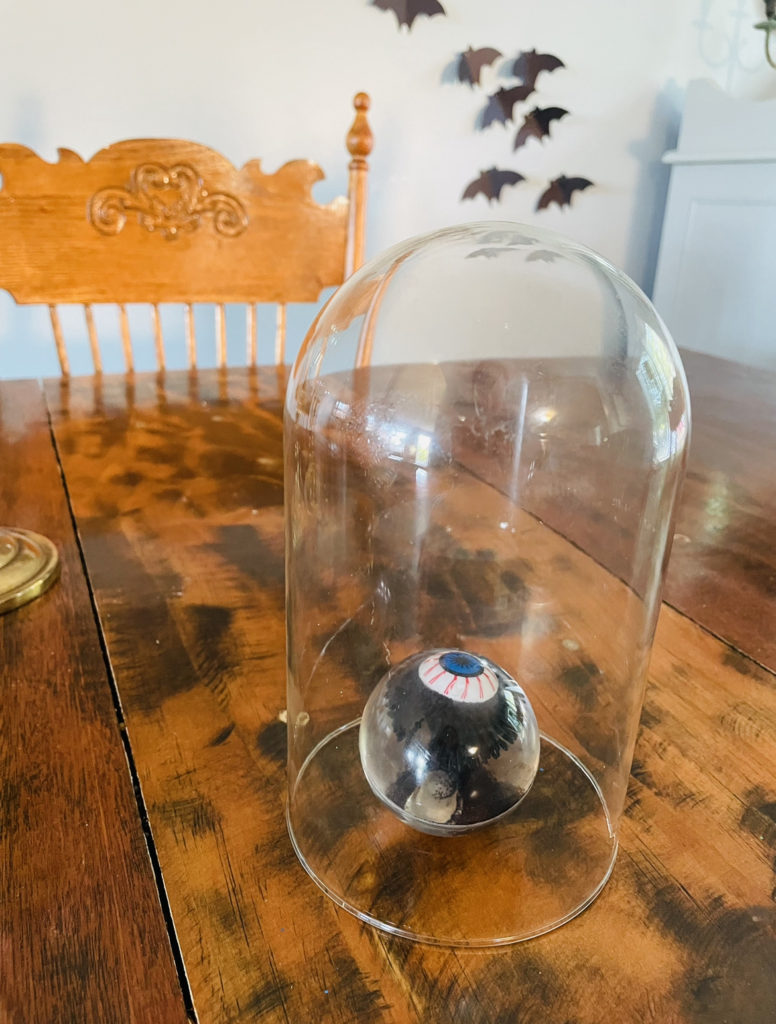
The next pieces were simple, I spray painted the bust and candle sticks matte black. I love how the candles look as they burn with contrast of white and black. I also searched for some cool items to put under the “specimen cover.” I found a rat and a hairy spider, but my kids were obsessed with the eye ball.
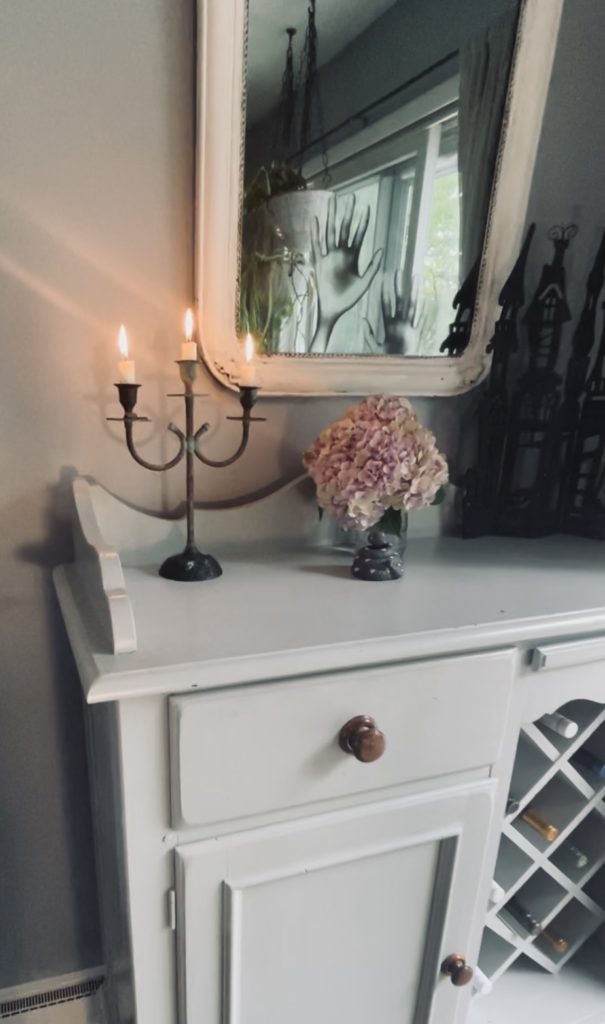
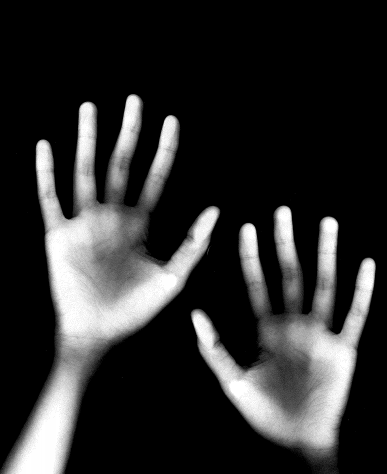
The final piece was the spooky hands in the mirror. This idea came from Martha Stewart, but I re-sized her image here so they could be printed on 8.5/11. You will need transparent sticker paper which I found at JoAnn Fabrics, but you can also order it here. The paper was actually very forgiving. I cut the hands and then moved the placement a few times until I was happy.
Tablescape Materials:
Candle Stick Holders Gold / Black
Spooky Hands Materials:
If you haven’t already, check out the fun reel I made of the space!
See you soon!
