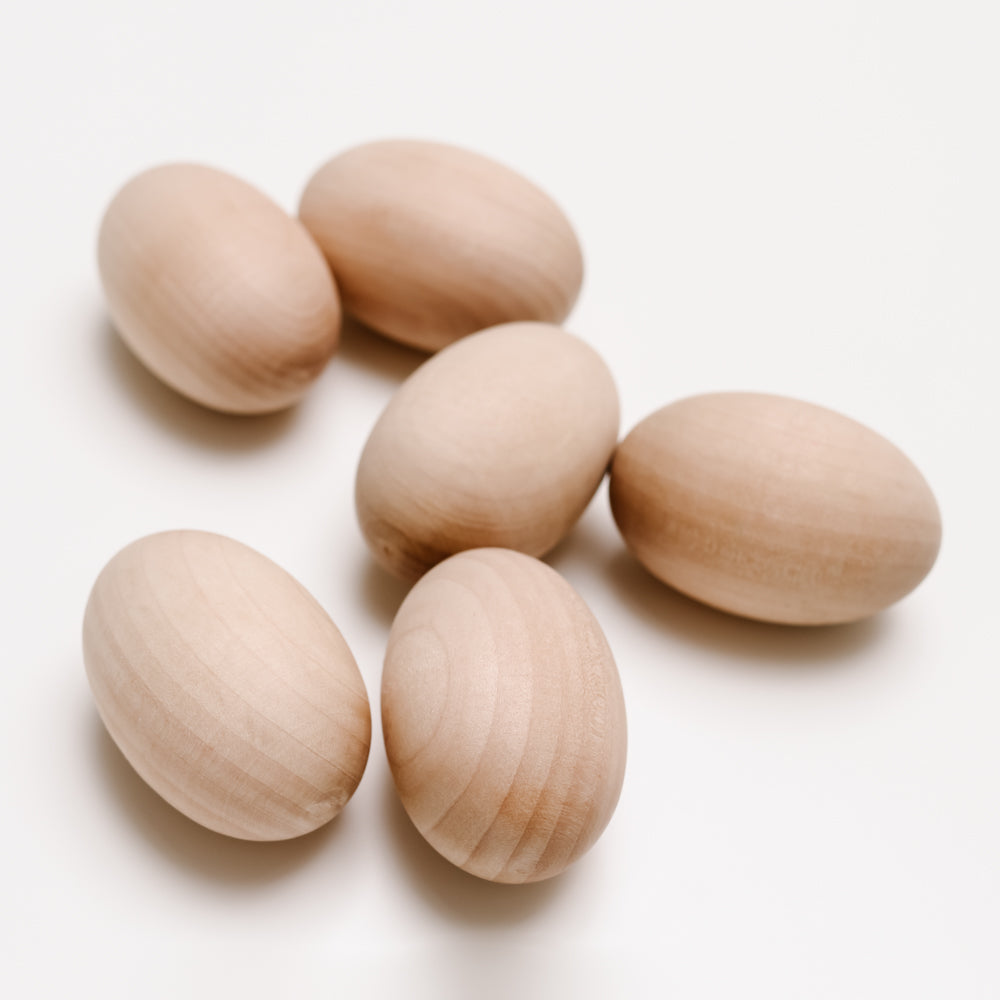
Each year at Easter, I look forward to experimenting with a new egg-dyeing technique. Most of the stuff in boxes at CVS is junk. It doesn’t really work, its too complicated for kids, or requires some material that I don’t have on hand. ie; white vinegar….always the vinegar. Over the past few years I have taken to the internet and discovered some fun alternatives. Marbling, splattering, glitter – all FUN! But last year, I saw a post on Instagram where someone painted wooden eggs from Michael’s Arts and Crafts. Genius! I bookmarked this idea in my memory – not in the app (that would be too easy).
Funny story. Last weekend I packed up the kids and headed to Michael’s, determined to find the wooden eggs. As we were getting out of the car, we noticed a place next to Michael’s called Ninja Lab. In a moment of weakness I told them we could stop in and get more information. For another day, of course. Cue…a two hour detour.
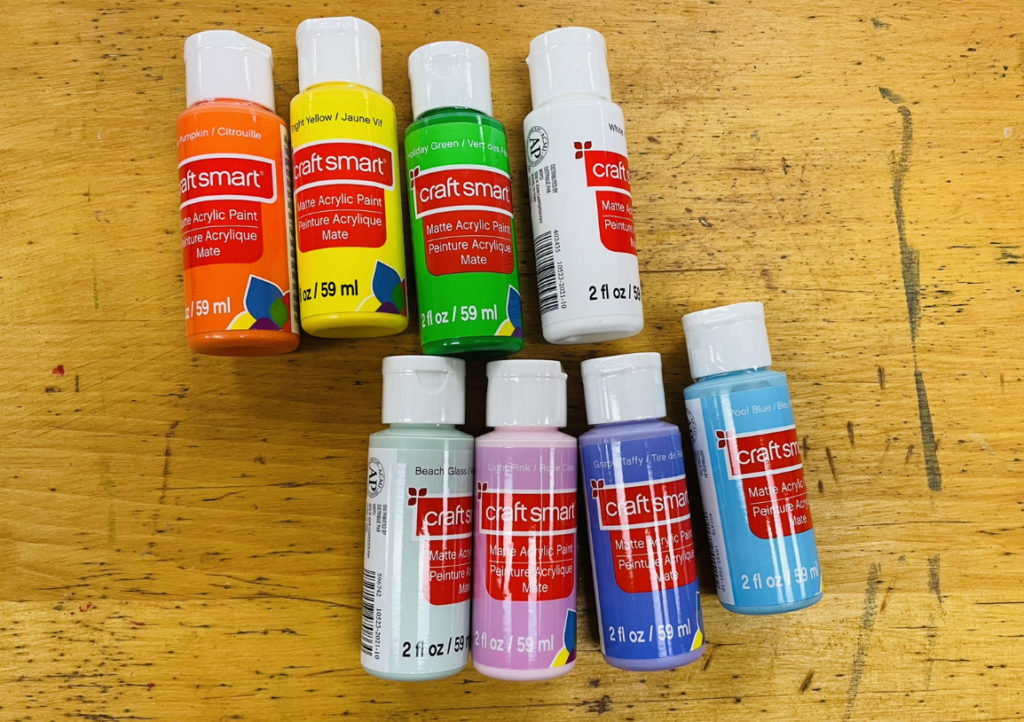
Sweaty and exhausted we finally got the eggs. Everything in the Easter section was 50% off, so I got 2 bags of eggs and two sets of acrylic paint. I am always weary of paint that is in a “craft set” because it is usually not the best quality. But I liked the colors and also the fact that it was matte finish. I ended up really liking it.
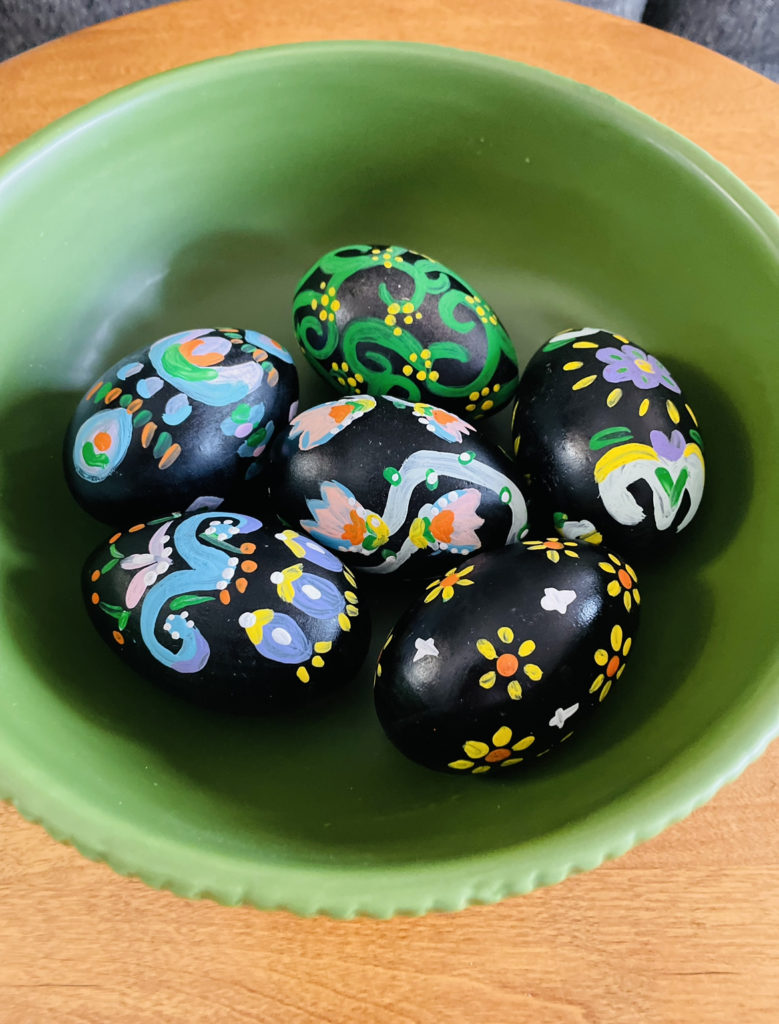
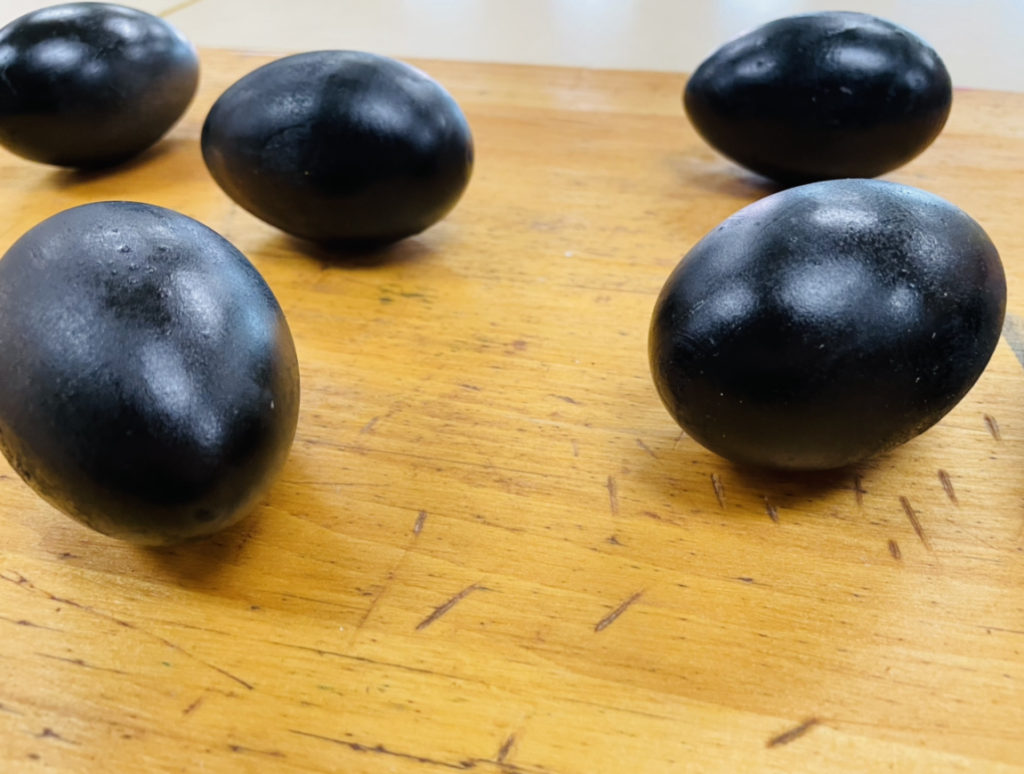
The first thing I decided to do was paint the eggs with a base color. I wanted to do something different and non traditional, so I decided to paint them black. I used black spray paint in satin finish.
Next, I searched for some source images. I knew I wanted to do some sort of vine/floral pattern. French flower patterns, was the search that yielded the best results. Below are some of the patterns that inspired me. I thought it would be unique and striking to recreate some of these patterns with the bold colors I had selected.
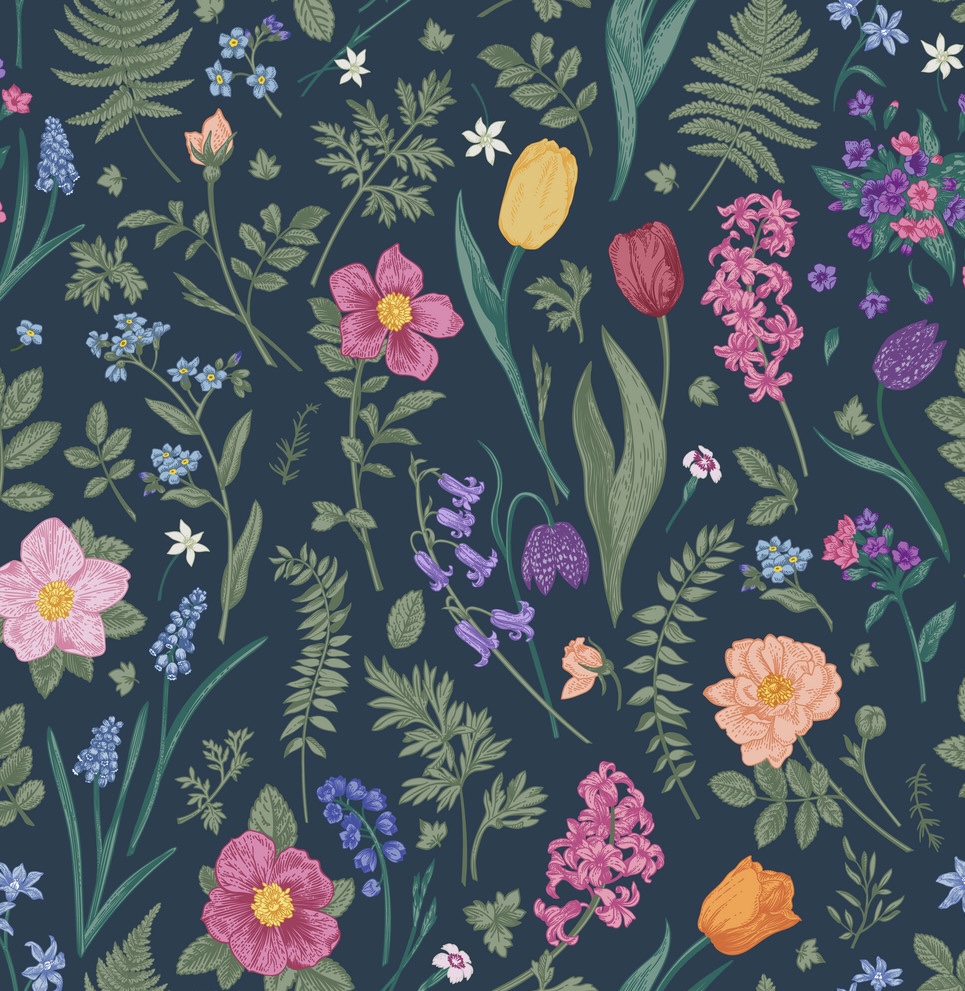
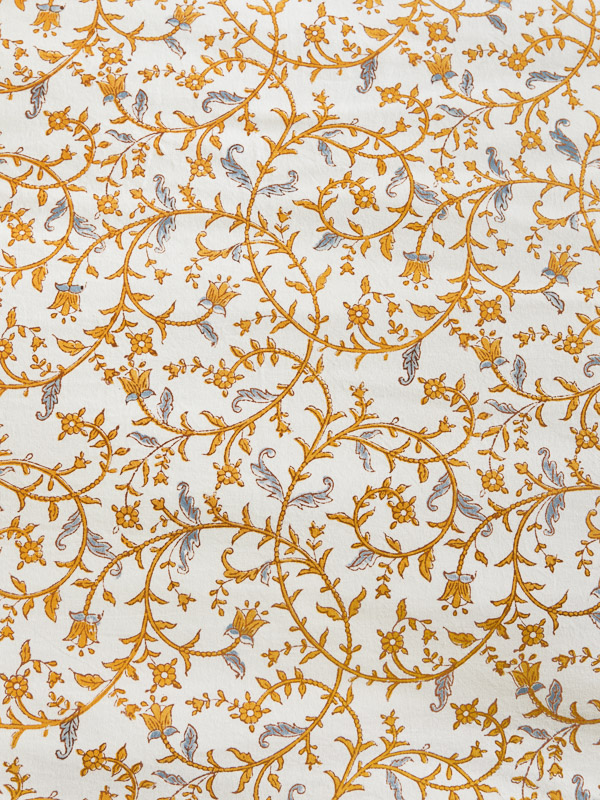
I really believe that the eggs would be beautiful with any design. If you are working on this with your kids, keep it loose. I would set out some basic patterns for them; polka dots, stripes, plaid – and just see what happens. You could also customize the colors to your liking.
A few things that I found helpful.
- Tinted colors provide more opacity. A tint is any color mixed with white, which tends to give it more body. If you find your colors are very translucent or “runny” – add white.
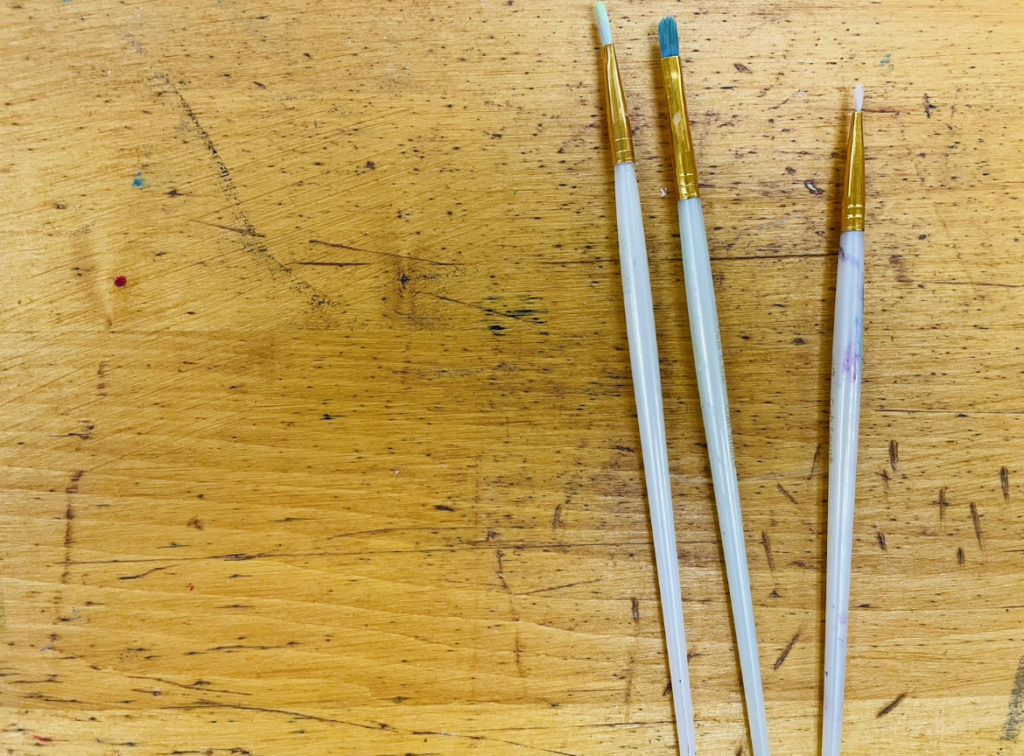
- Have a variety of paintbrushes on hand. This helps create texture and variety. Diversity in line quality also creates more visual interest.
- Have a damp cloth nearby. If you make a mistake with acrylic, you need to remove it quickly. Once it dries, it is much more difficult.
- Layer!!! I found that if I wasn’t happy with a pattern, layering with dashes and dots revived it.
- Have fun. Make memories.
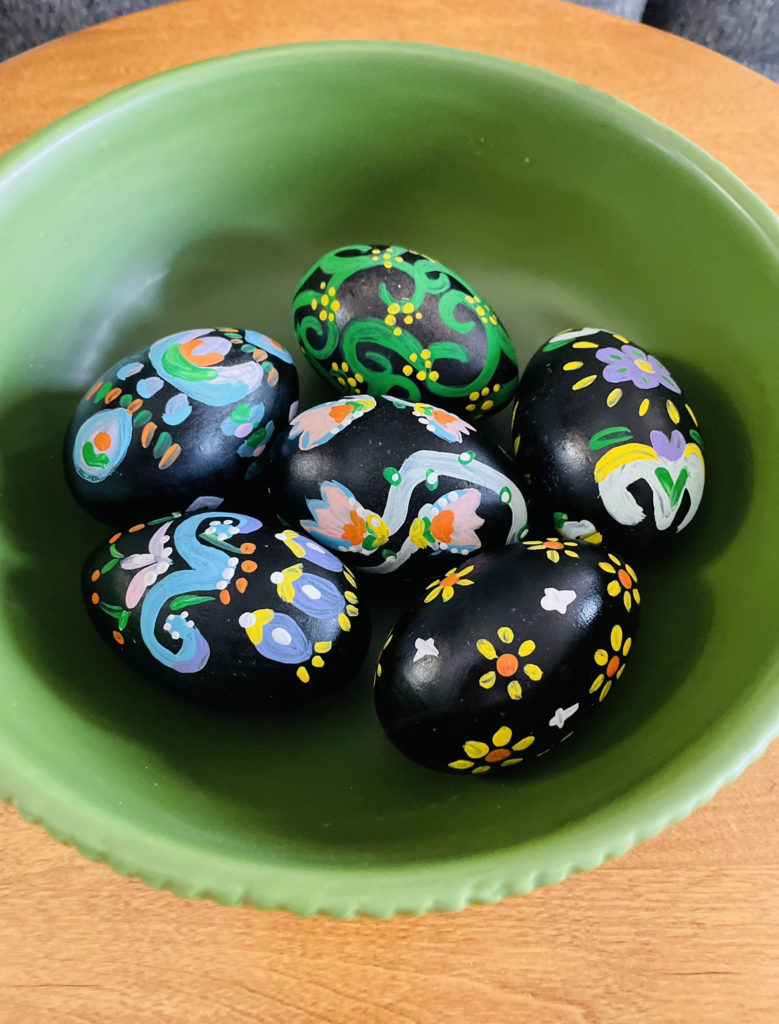
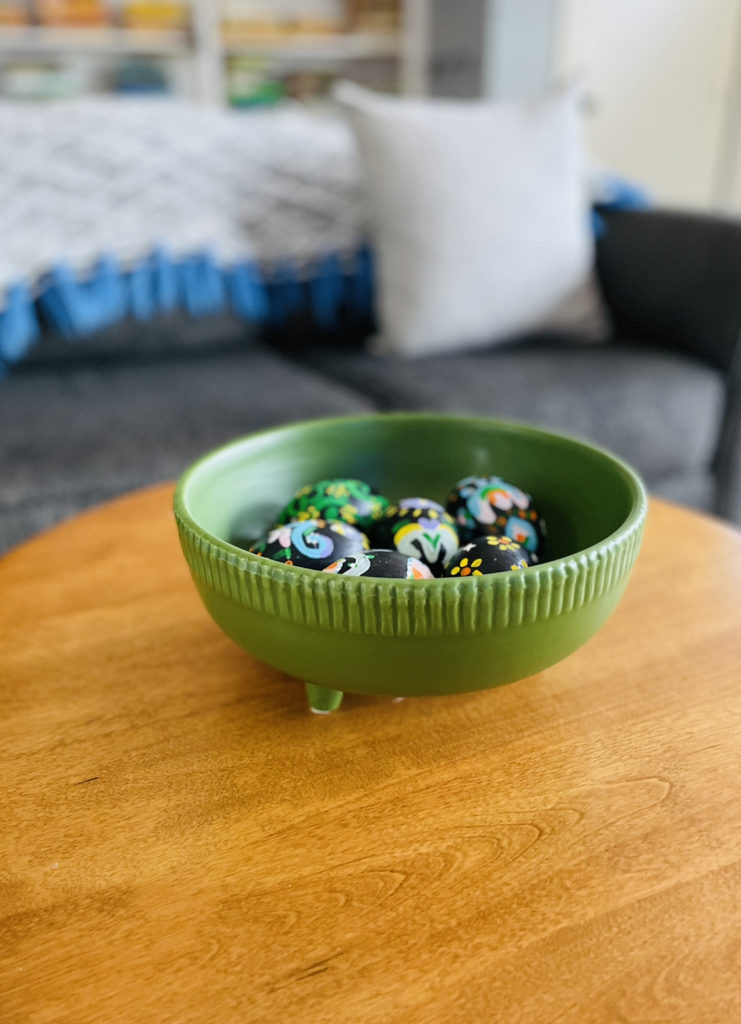
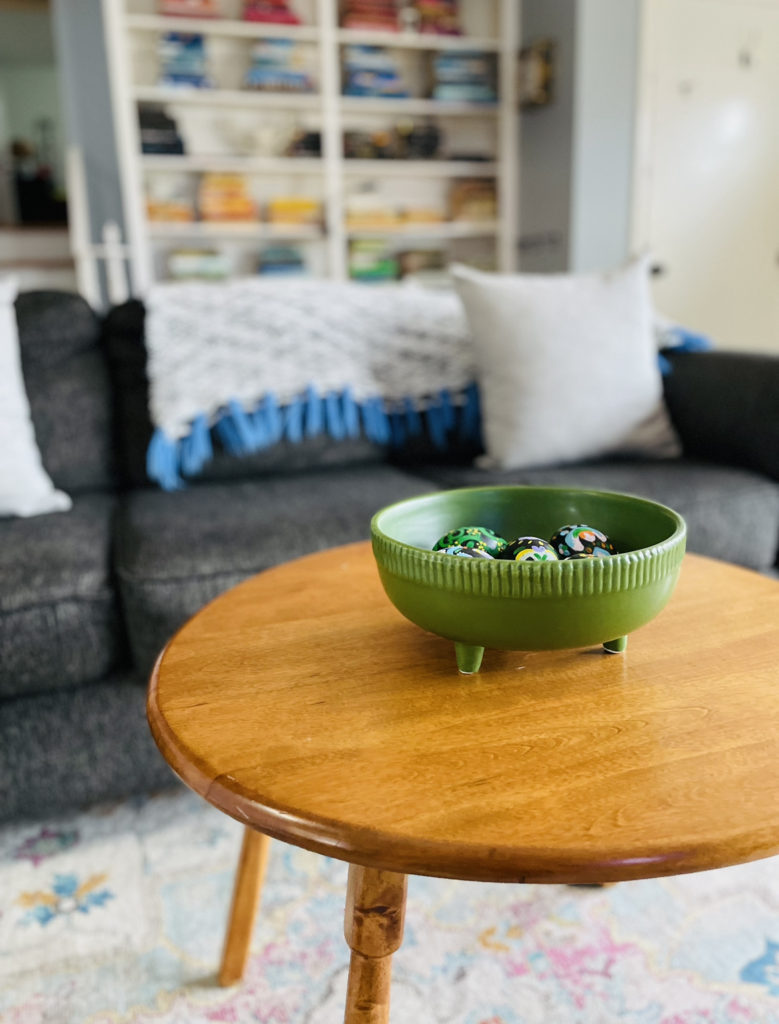
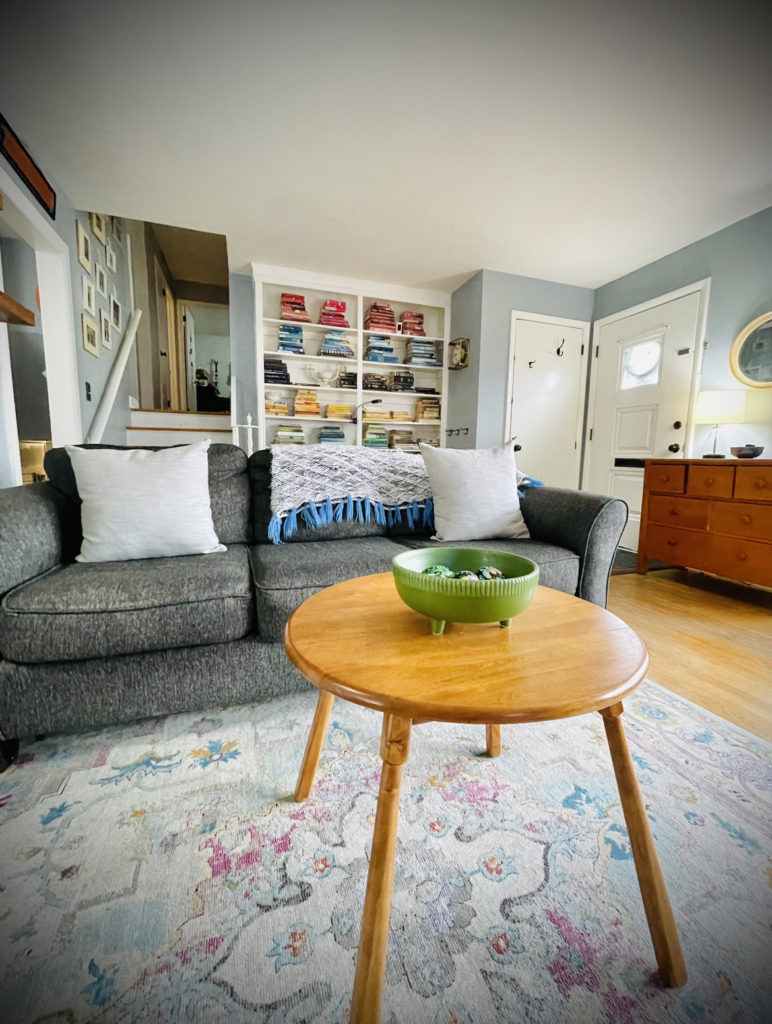
This little project was fun and bit therapeutic:) Let me know if you try it!
See you soon!

