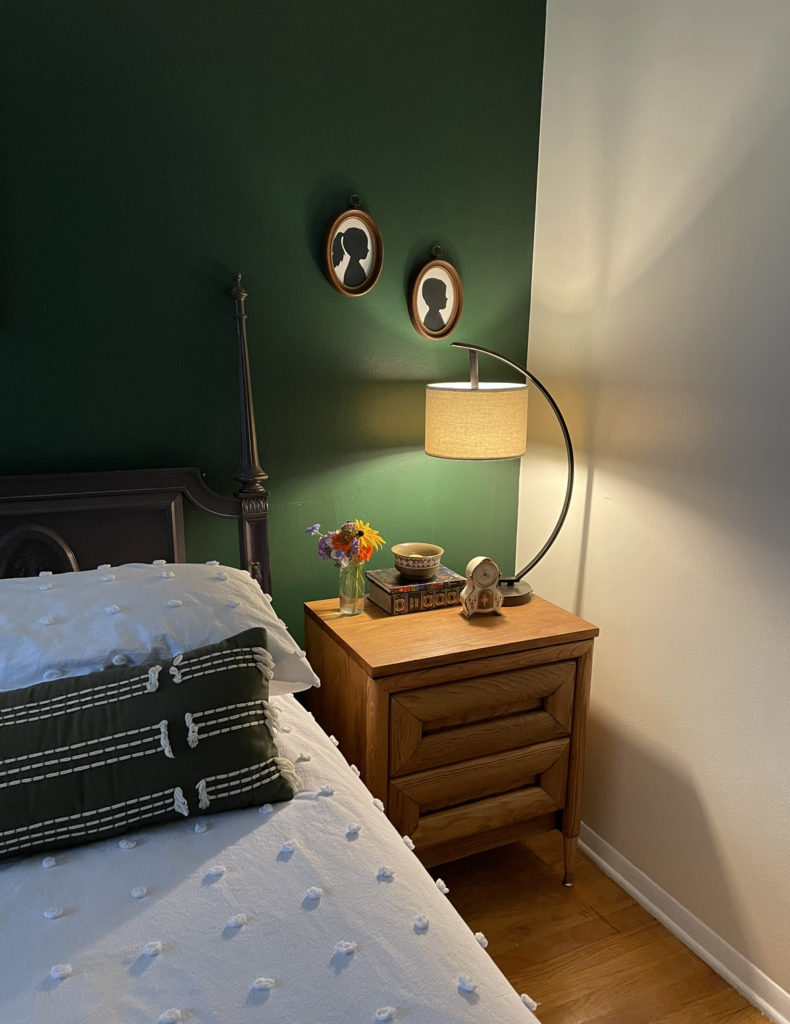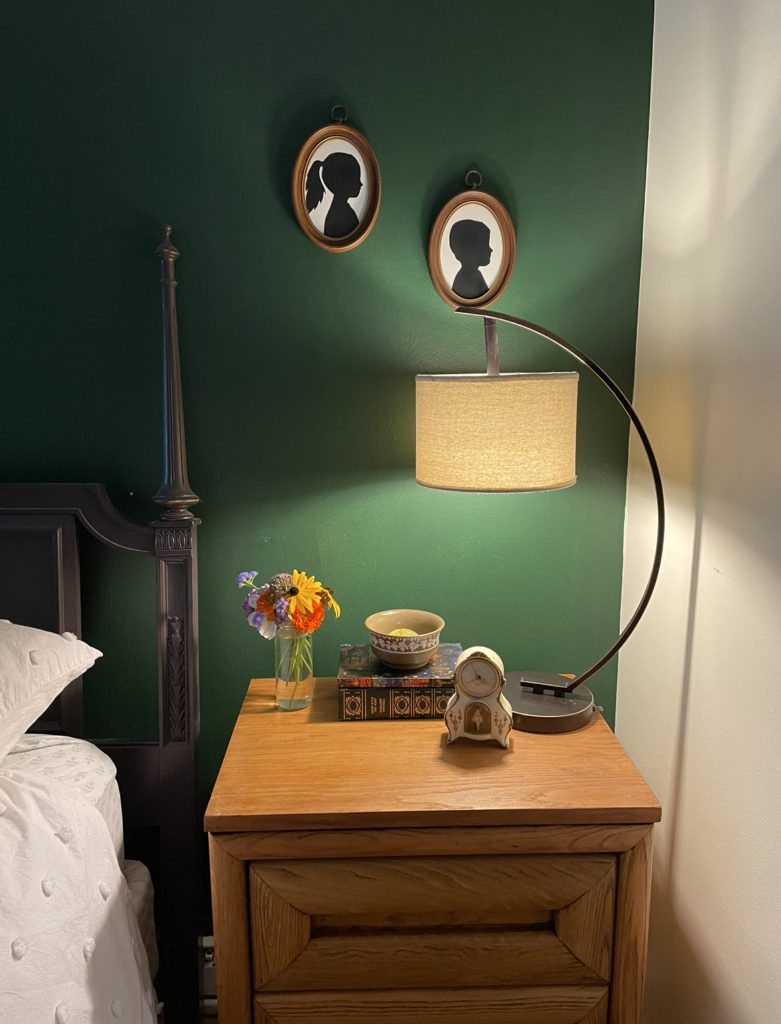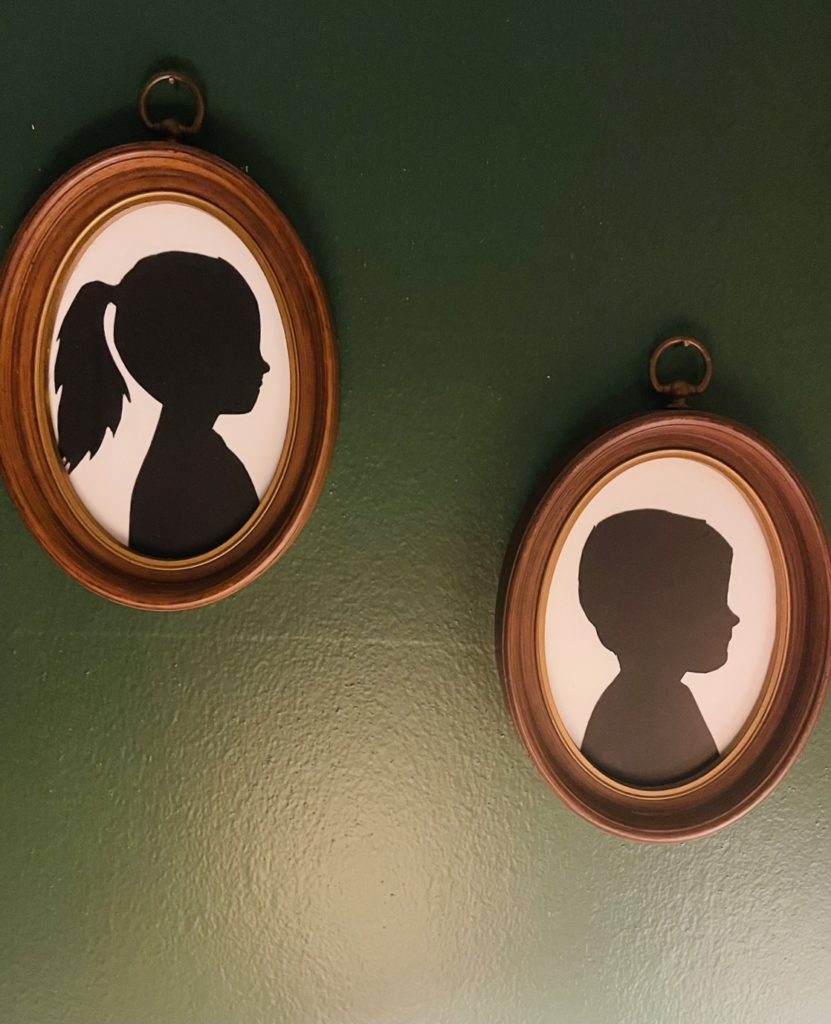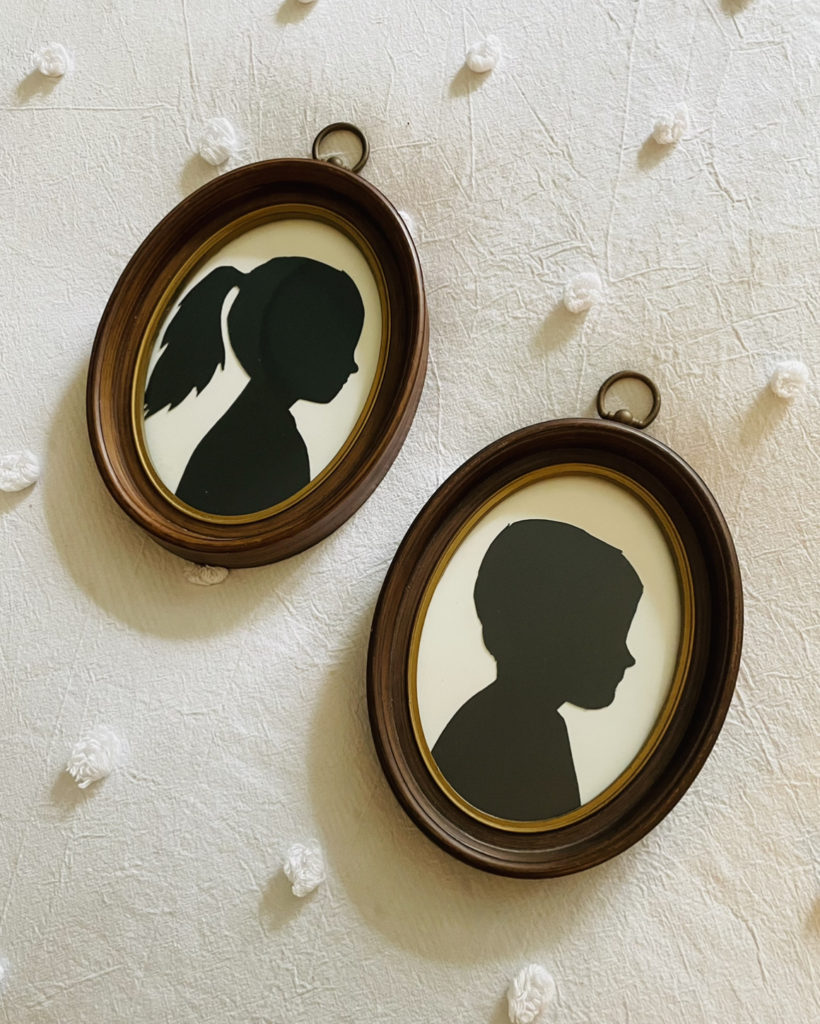
My nightstand project quickly spiraled into a complete bedroom redesign. My mind is spinning with ideas! Paige from A Minor Detail posted some silhouettes of her children and I thought the idea would be so cute in my bedroom. This project was super simple – the only difficult part was finding the frames!
I knew I wanted antique-looking frames, and they were actually very hard to find. I hit up all the local thrift stores, and eventually found them at a garage sale! Frames are something that I definitely recommend thrifting if you can! You can always paint a frame, or buy an inexpensive matte at Michaels – this cuts the cost in half. Amazon did have a few options!
Supplies:
Pictures printed on Cardstock (I printed mine at Staples)
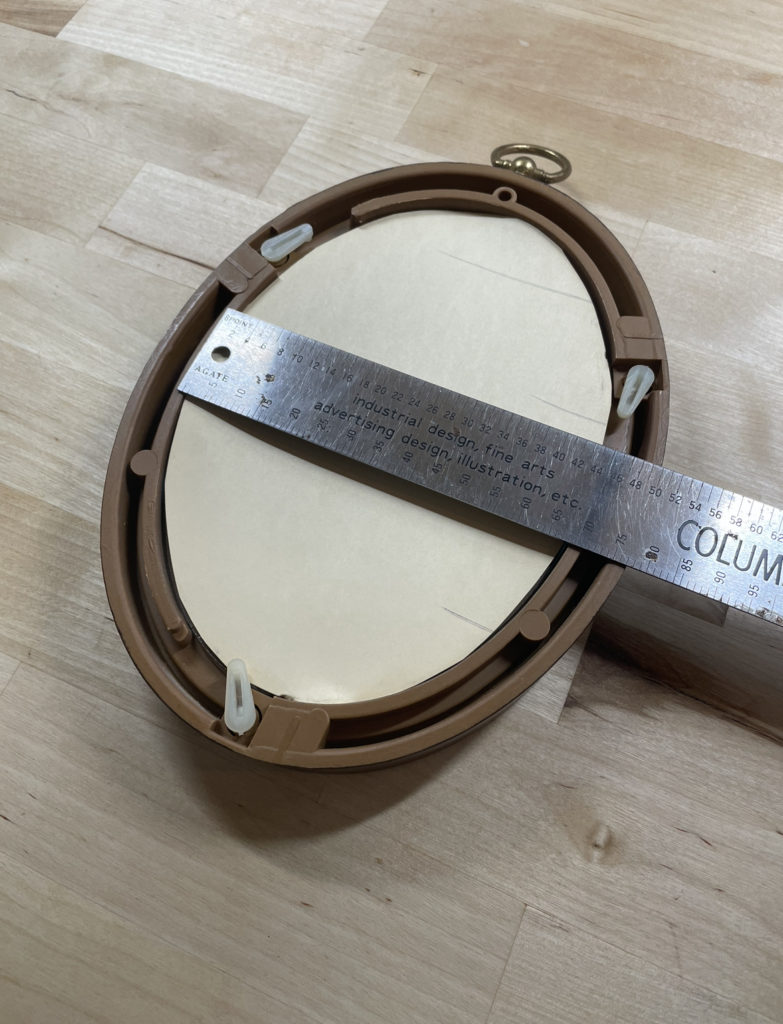
Next, the how-to. First you will need to measure your frames. Mine were 5 x 7, and so are the ones I linked above. You will also need to take profile pictures of your subjects. Remember – the shoulders need to be included in the photo.
The next step is very important – create a template! You really don’t want to eyeball this, especially if you have more than one child. When I first began I noticed that the picture I took of Leo was slightly closer, so his head looked bigger. Creating the template was crucial, so the the two silhouettes looked uniform.
Start by opening Microsoft Word. Then, follow these commands:
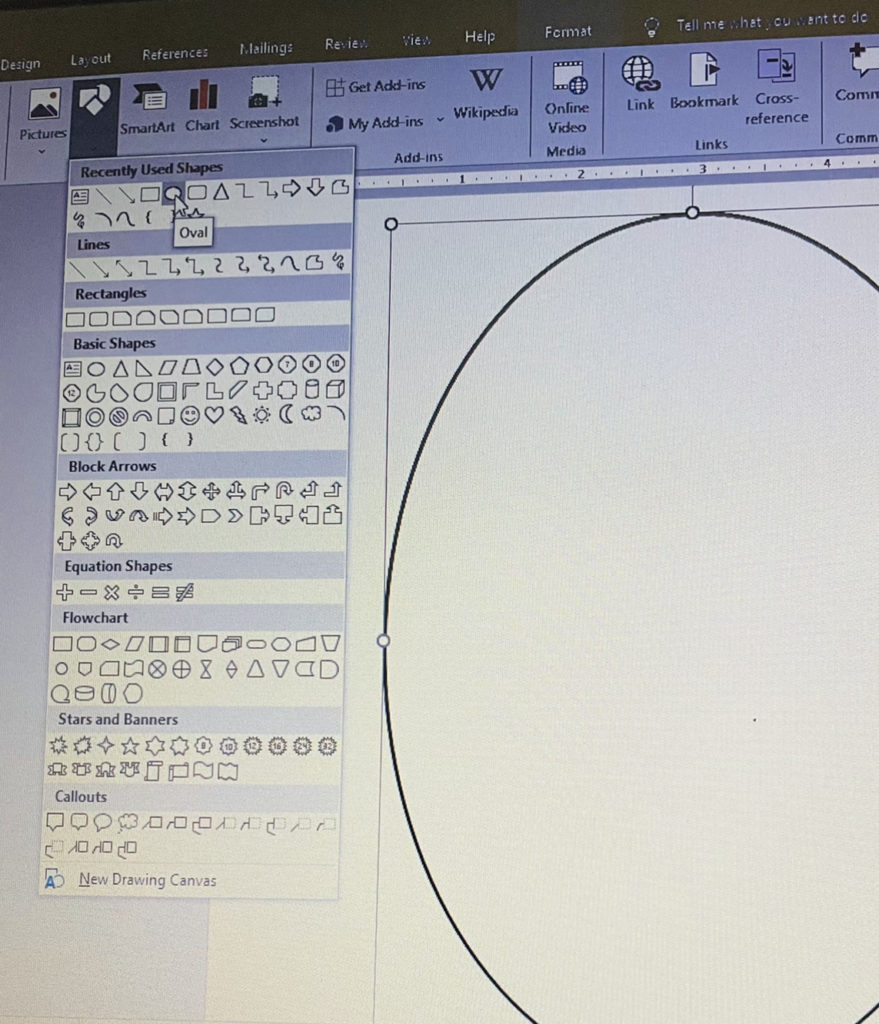
Insert > Shape > Oval
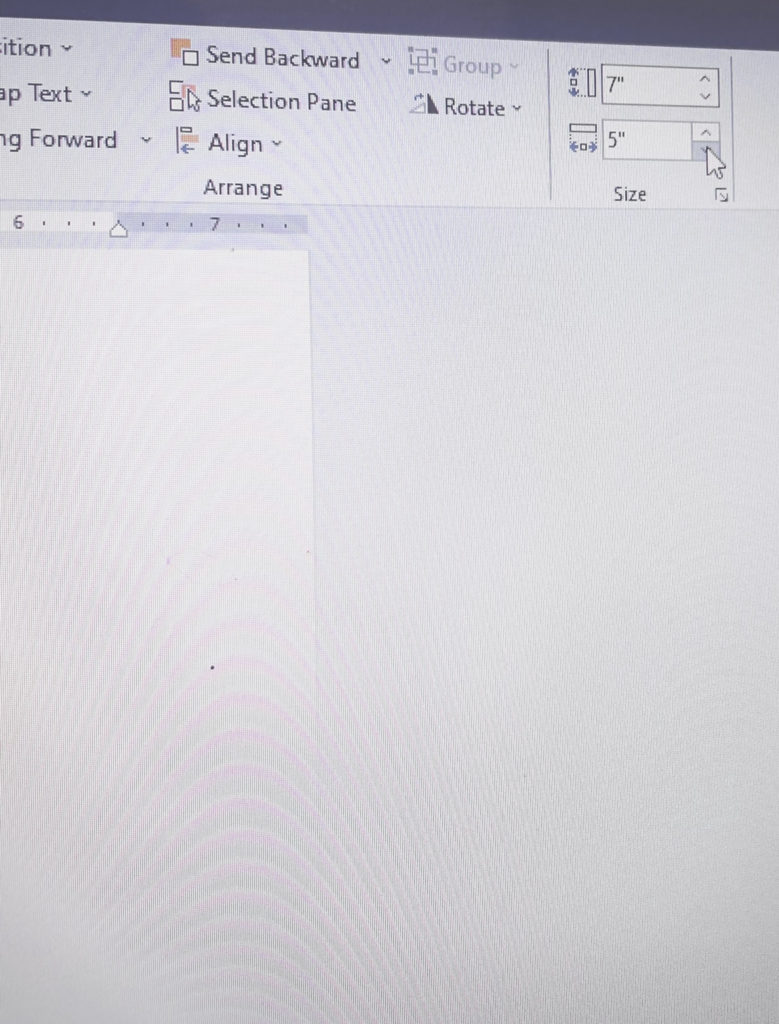
Once you have added the oval click on it so that it is highlighted, then look in the upper right hand corner of your toolbar. All the way to the right you will see a column for size. Adjust the oval so that it is the size of your frame.
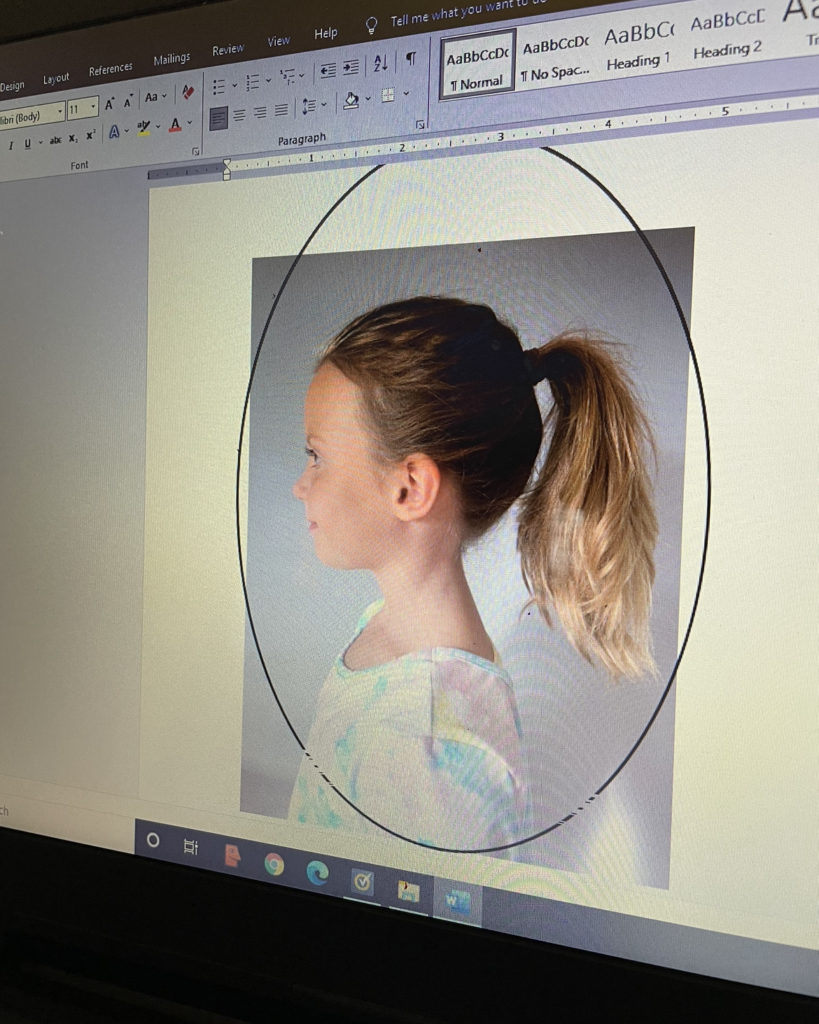
Next, you will need to add the picture. I uploaded mine to my Google Drive. Once you have them added to your computer, follow these commands:
Insert > Picture > choose location
Next you will format the picture, so you can move it freely and place it inside the oval. Follow these commands:
Format > Text Wrap > Behind Text
Finally, print on card-stock! Regular copy paper tears easily and overall will not hold up as well. Another important tip – print 2!! I actually cut each silhouette twice to make sure I got the best likeness. Plus it is nice to have a back-up in case one is a disaster!
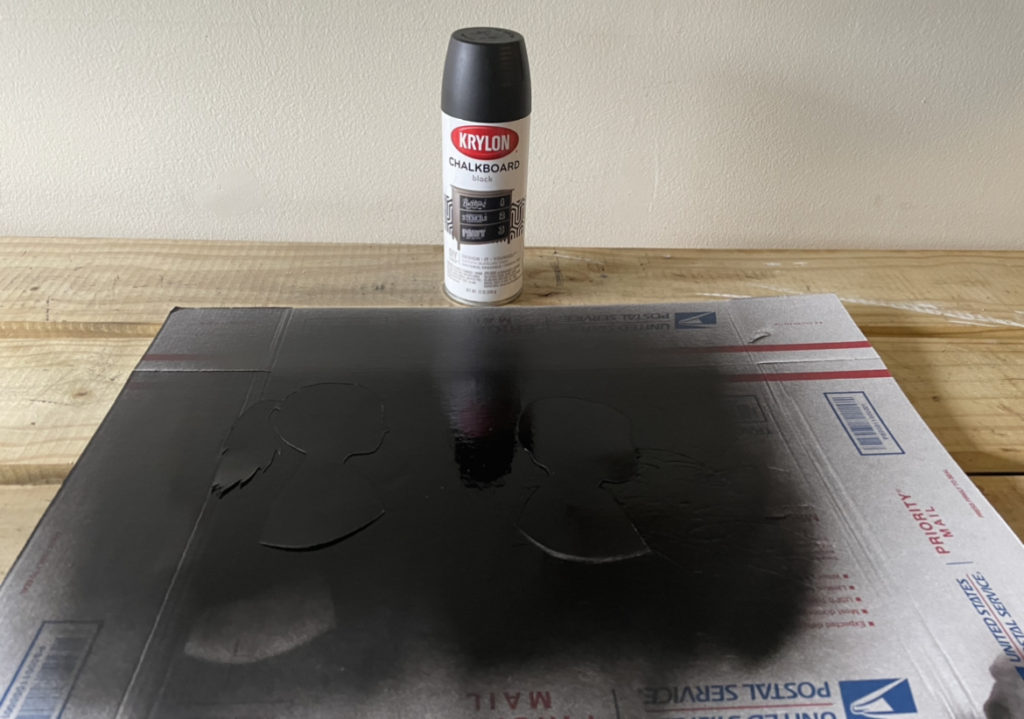
Now, you may question the next few steps. A friend asked me, “Why didn’t you just trace them on black paper and cut with scissors?” This is a good question and of course that is an option. But, over time black paper will fade and it also doesn’t lend to the authentic look of a silhouette. Using an xacto knife gives the image sharp, precise detail. The paint gives it solid, heavy-looking body. I think it is worth the extra steps.
When you are ready to cut the portraits, make sure you use a mat or a piece of cardboard underneath to protect your table. Also, a note on cutting – make sure your shifting your paper. For example, it is easy to make smooth cuts when you guide the blade down. Try to rotate the picture so you can easily make each cut.
You are almost there! Next up, spray paint. You can use any matte black paint. I happened to have chalk board paint which worked well. You may need to do several coats to get an even coverage.
Voila! You are ready to frame. Use a nice heavy paper and a permanent glue. I linked the one the I used above.
I am literally in love with this project. It makes my heart so happy. My husband suggested that I do a new one every year. Let me know if you give it a try!
See you soon!

