I love a project.
Do you have a room in your house that is a mish-mash of random furniture? Things that your mom gave you, a wobbly table, an old worn chair that serves as the laundry depot? That is our master bedroom. I have organized and redesigned my kids rooms six million times, but never really got around to mine! Summer 2021- its time for this room to shine.
I am not the type of person to go to Raymour & Flanigan and buy a matching set. But, at the same time, the jumble of furniture I currently have really needed an upgrade. My main goal was to eliminate a large wardrobe that was taking up too much room and wasn’t very functional. The problem was, what will I do with all the stuff inside?
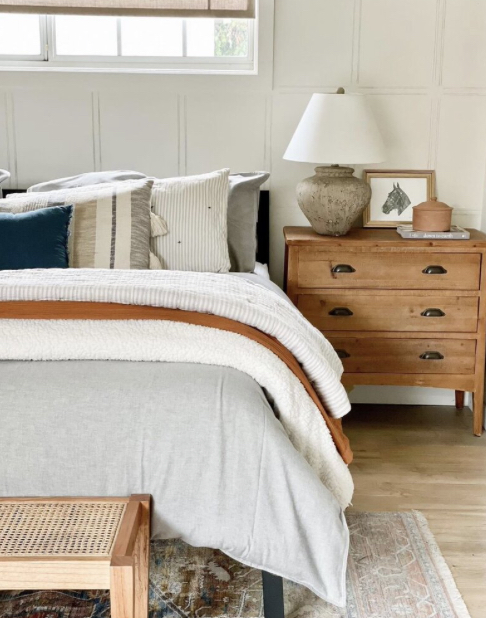
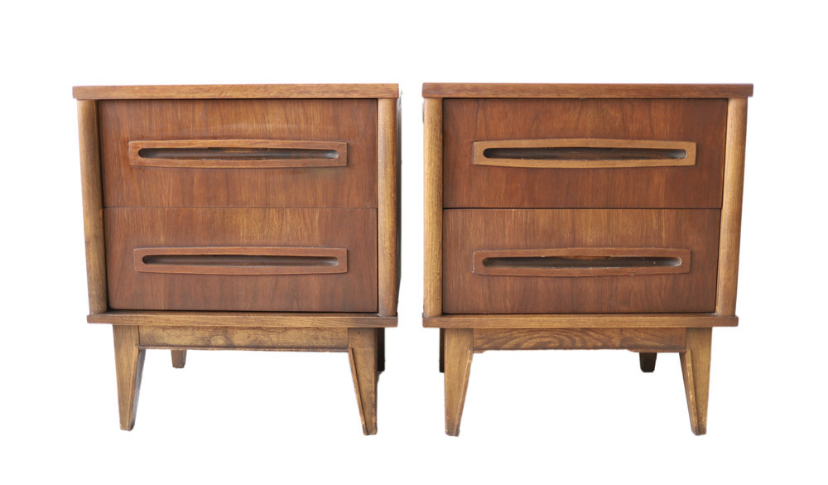
Enter Deema from Pretty on Fridays and her amazing bedroom! This image gave me a great idea. Small dressers as nightstands. I love the functionality as well as the aesthetics. If I had one on each side it would also bring some balance to the bedroom.
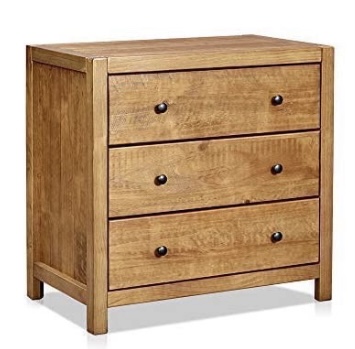
I found a similar dresser on Amazon, but the price was over $200, so for both we were talking close to $500. I had more work to do in the bedroom so spending this much on nightstands was out the question.
Plan B – Facebook Marketplace! Have you every used it? I have found some gems over the years, but there are a couple of things that I have learned.
- Know what you want! search for some inspiration online so your have a solid idea of what you are looking for.
- Take measurements! no point to find the perfect piece if it won’t fit.
- Ask seller for materials/brand! don’t buy particle board – you can get that new at Target.
- Be patient! you most likely will not find what you are looking for right away.
- Be willing to do some work! look for potential, you can always paint or refinish.
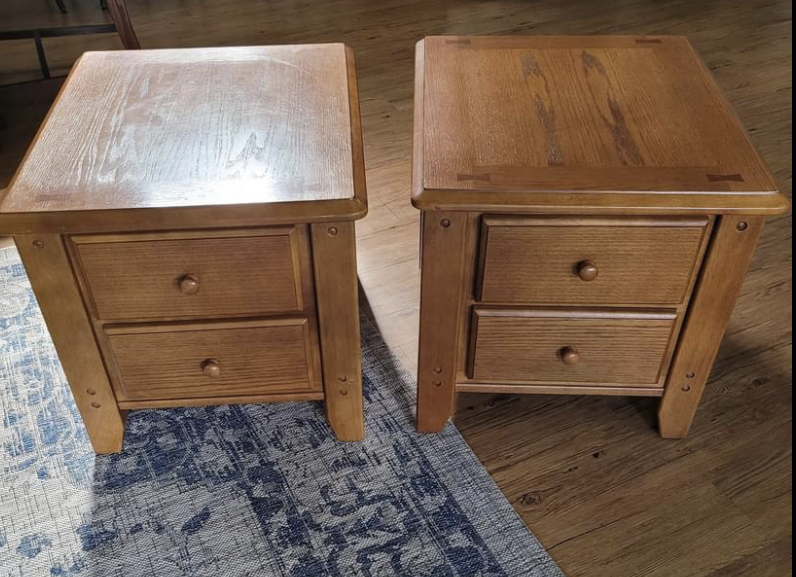
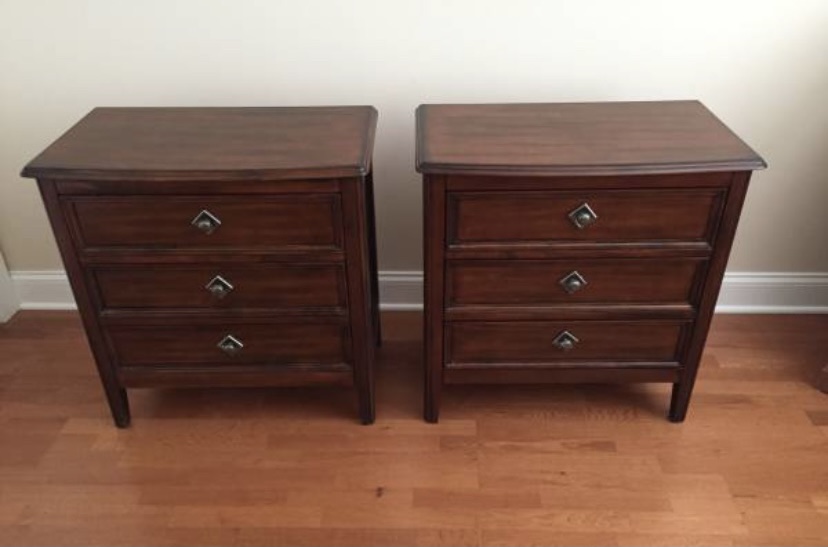
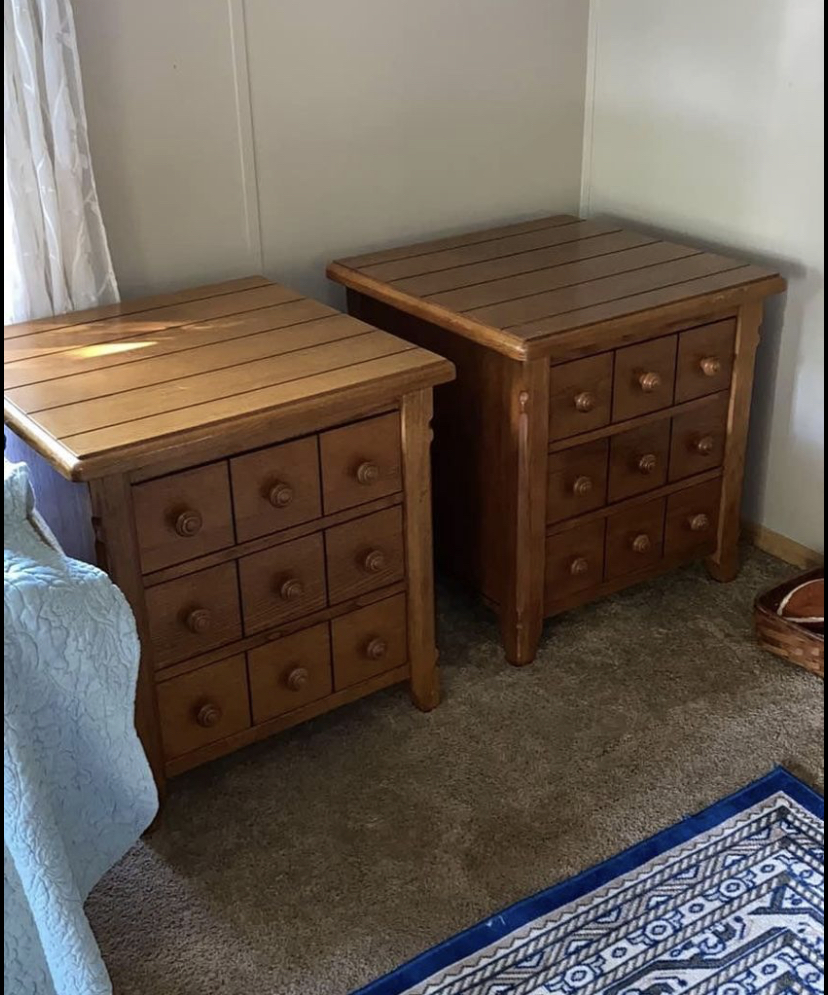
Here are a few images of some of the things I found in my search. I was looking for solid wood, drawers and legs. Each was okay, but not exactly what I was looking for. Not the right size, style or price.
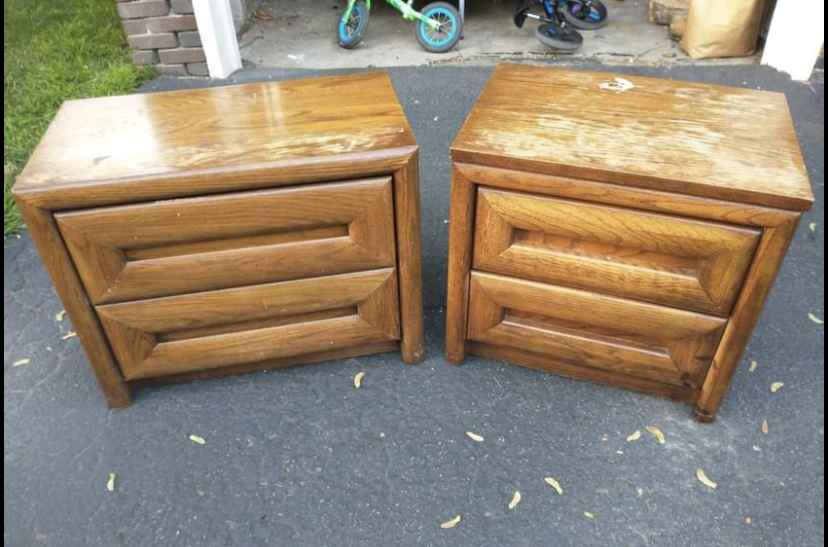
One morning an interesting prospect popped up. Two solid wood stands listed as FREE and only minutes away. The style was a bit of a compromise, but also an opportunity to make them what I wanted.
I searched a few images and decided that it could be an amazing transformation!
Supplies:
- Electric Palm Sander
- 60 Grit Sand Paper
- Screw Driver
- Scouring pads
- WD 40
- Stain of your choice – I used ipswich pine
- Seal of your choice – I used clear satin polyurethane
- Rags
- Paint Brush
- Rubber Gloves
- End Table Legs
- Wood Glue
- Drill
- Shop similar styling items HERE
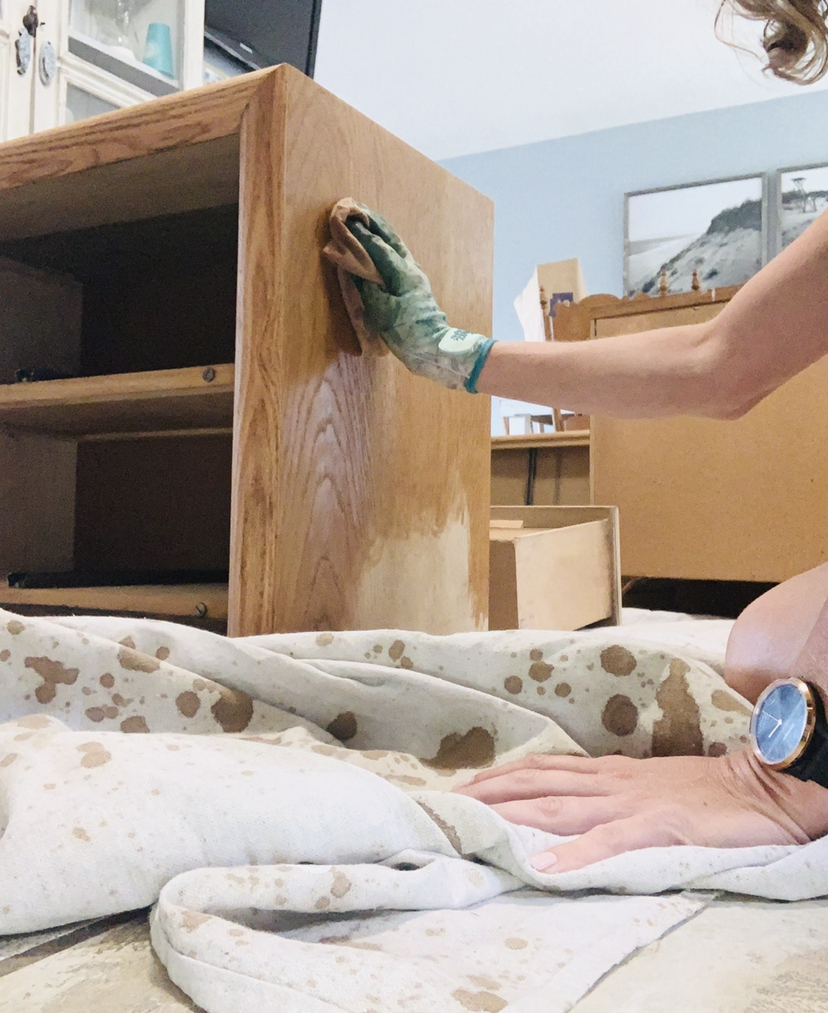
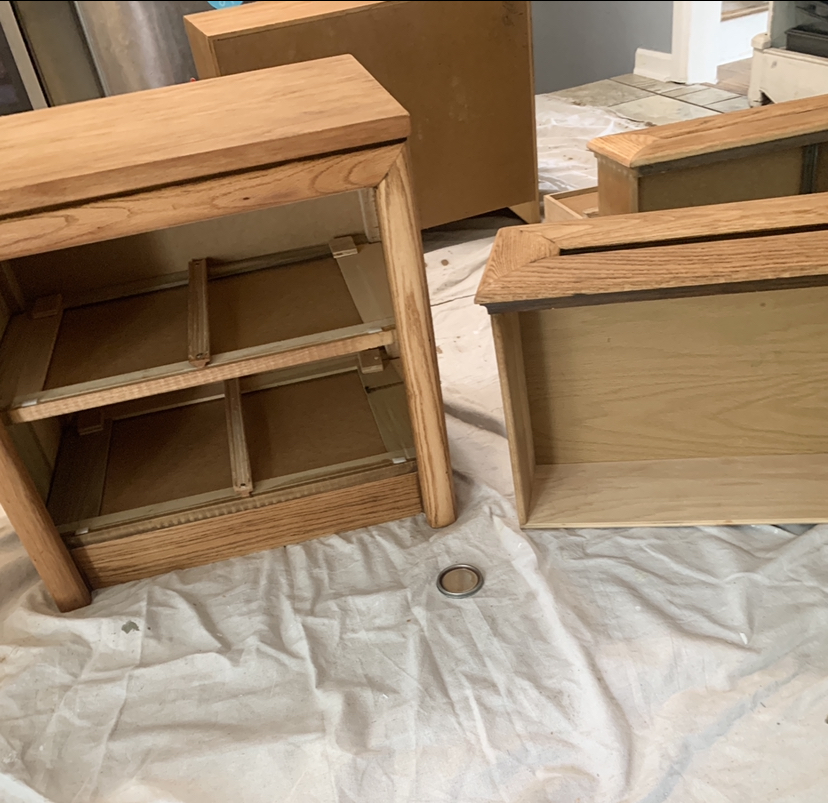
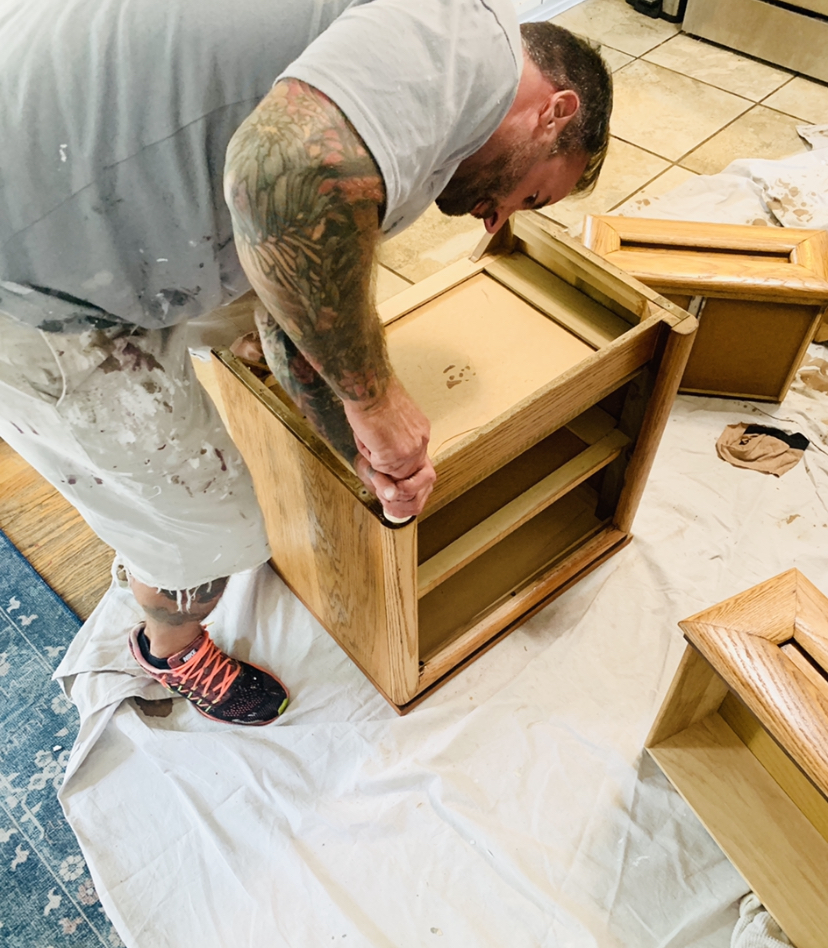
The first step is the most tedious – SANDING. This is another thing to keep in mind when looking for things on Marketplace. If it is really intricate with lots of ornate details it is going to be a b**ch to sand. Doable – but a pain in the butt. Sanding both these pieces took me about 2 hours. There is really no trick or skill to this, it just takes time.
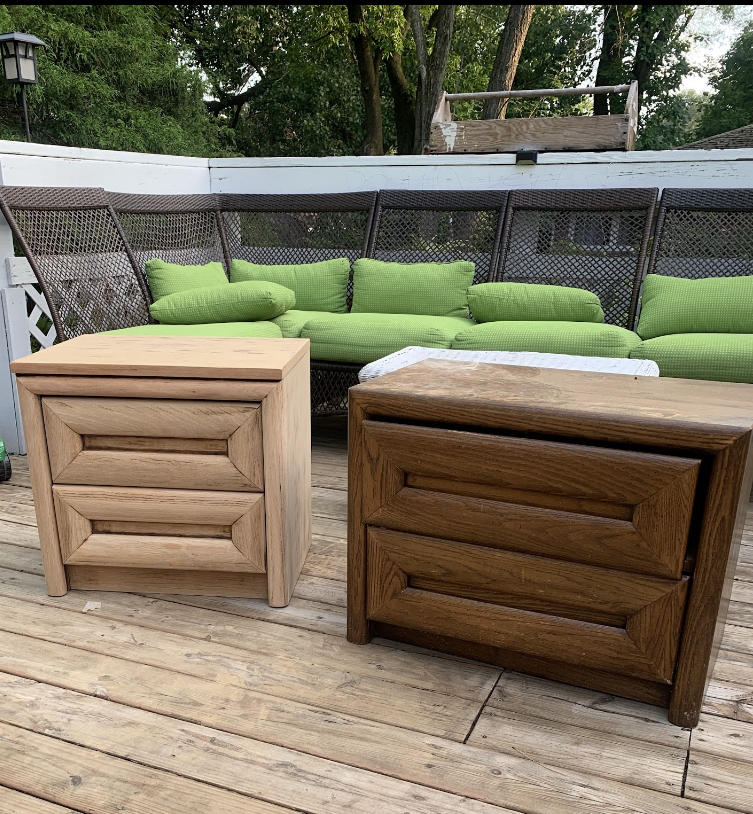
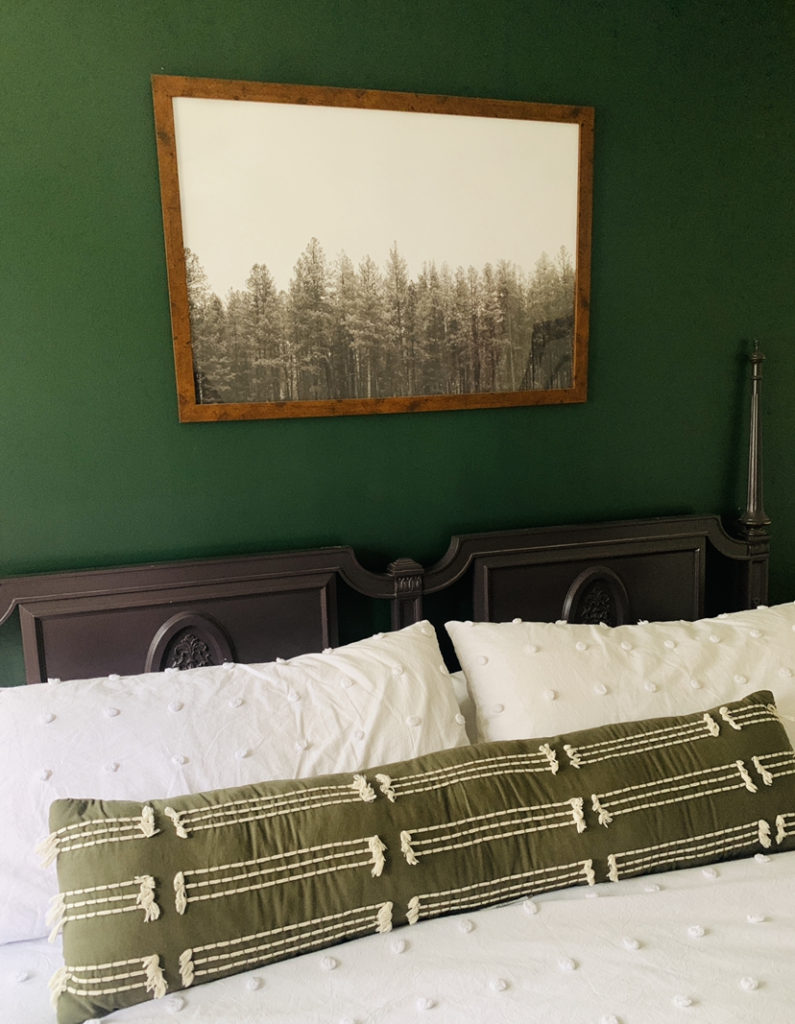
After one was sanded, I was starting to see some potential! The next step was deciding on a stain. Many of you who were following along on social, loved the raw natural wood. I did too, but it just didn’t go as well with everything else in my room. I also have a deep green accent wall, so a darker stain wouldn’t give it much dimension. I decided to go with a medium stain the complimented to frame I have about my bed.
Before staining, I tightened all the hardware on the drawers, then scrubbed it with a scouring pad and applied some WD 40. They hardware is usually pretty grimy so this is an important step. I also vacuumed out the drawers and cleaned them really well.
Next up, staining. This is the easy part! My husband has a pile of old shirts he uses for rags and this is the best way to apply stain. It goes on much more evenly and really saturates the wood.
I set up a fan to let that dry and then used a brush to apply the seal. Unfortunately it was raining, so I was doing this inside:(
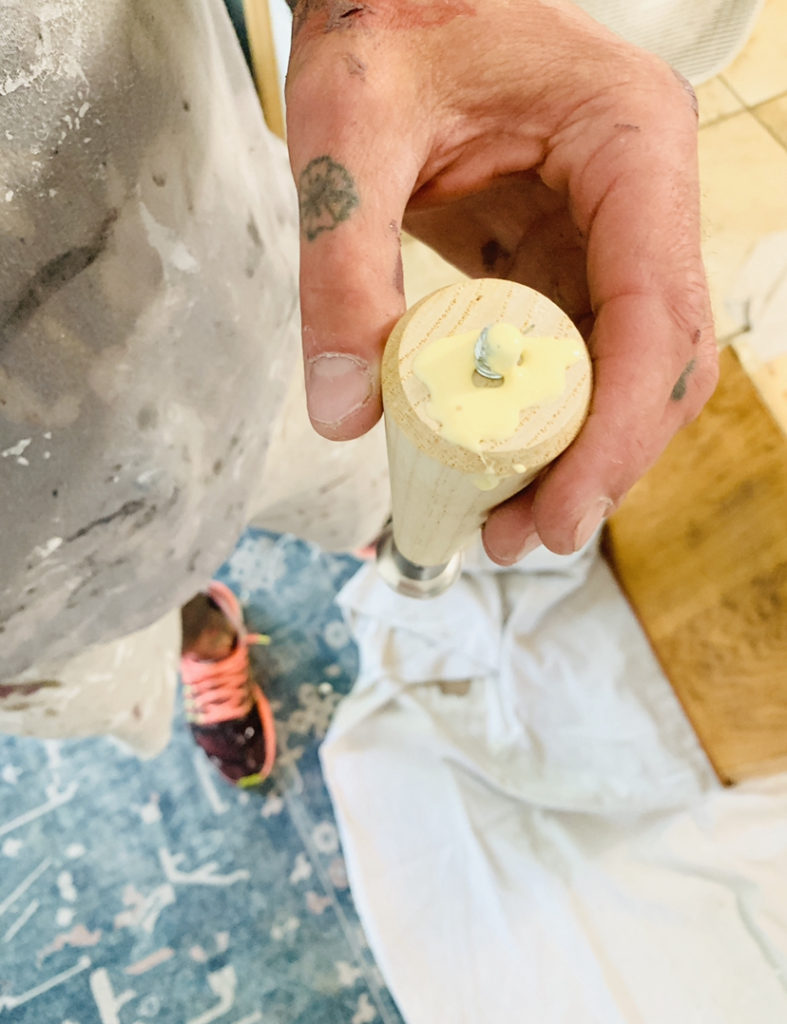
My husband got home right as everything was coming together and he helped me with the legs. This part was a little tricky and I was grateful to have his help. First you need to drill a hole, slightly smaller than the screw that is attached to the leg. This took a little trial and error until we got a good grip. We used wood glue to make sure it was solid.
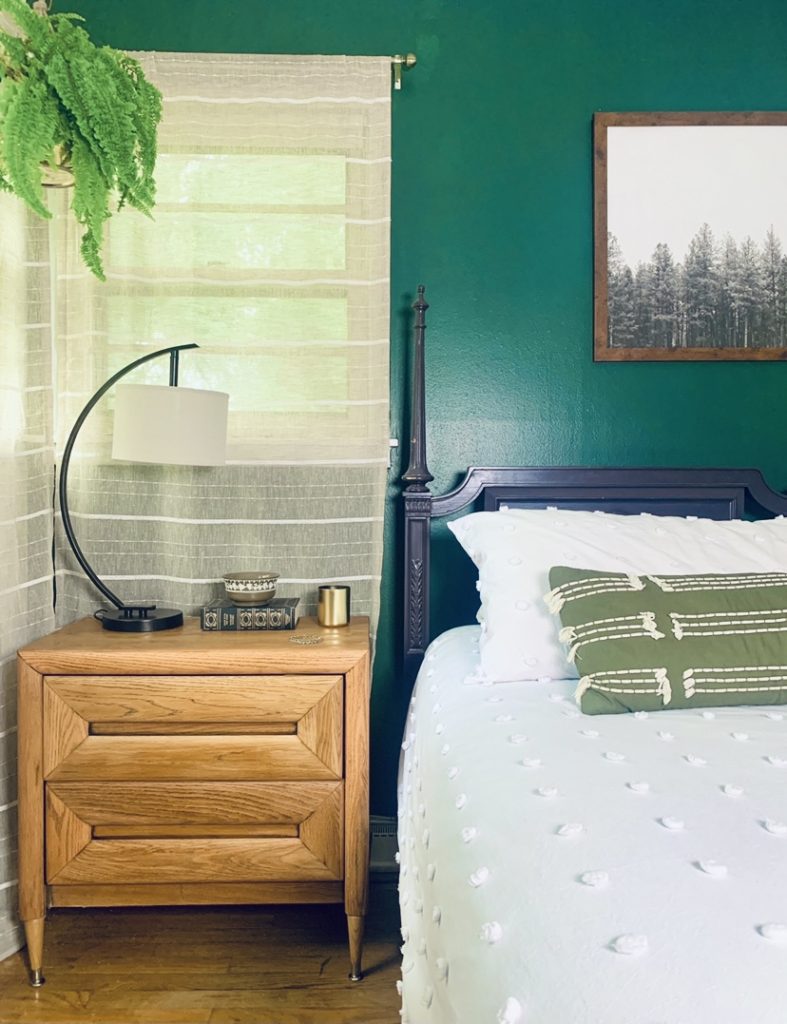
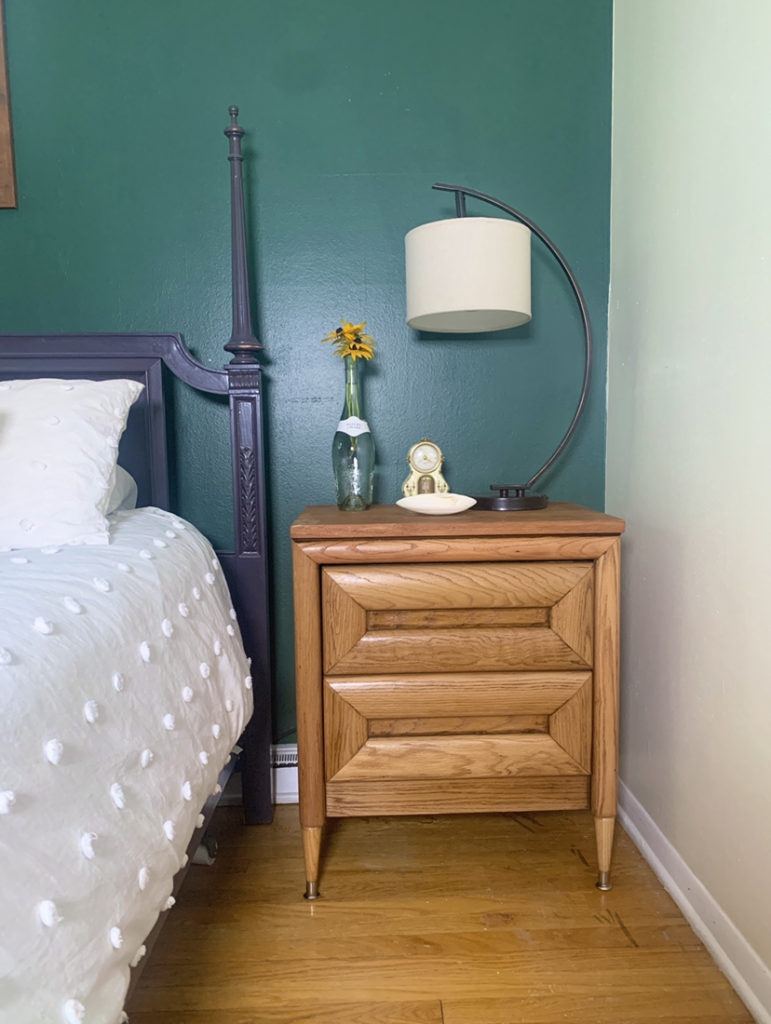
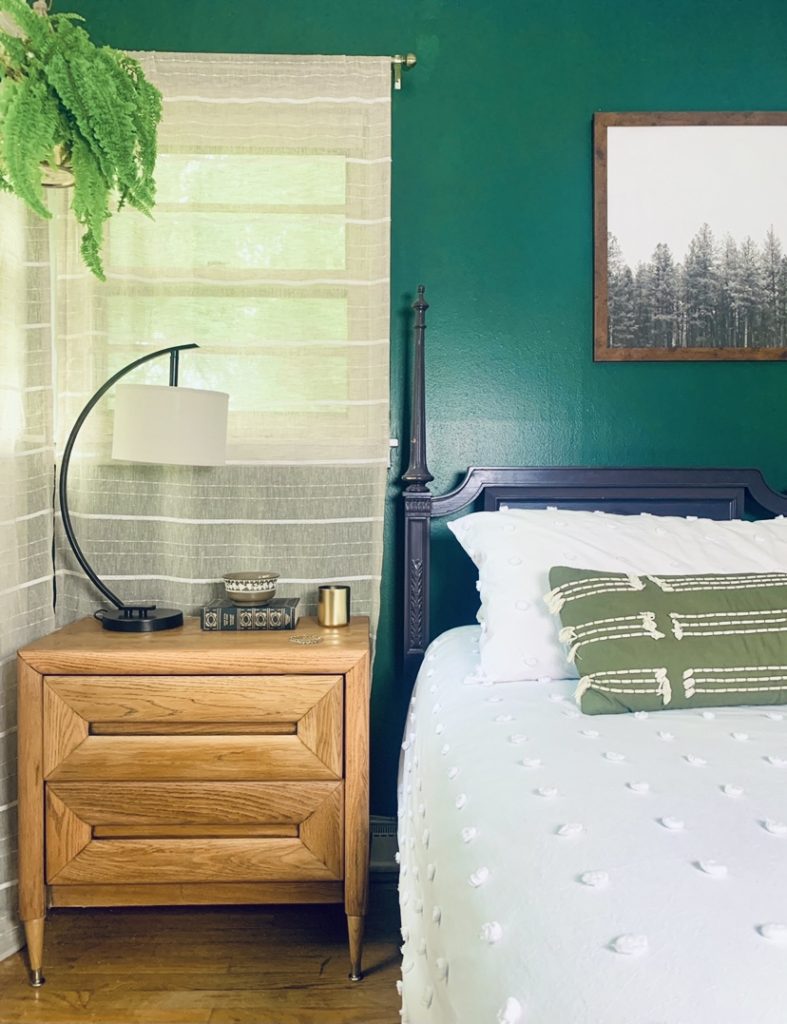
And that is it! This little furniture flip only took a few hours, over two days. I spent about $60 on the end table legs, stain and seal. I have linked all of the products I used in the supply list and you can get all of them on Amazon!
Let me know what you think! I love the Mid-Century Modern vibe and it definitely has my wheels turning for the rest of the space. I did a little styling with items that I have, but I have a fun little wall-decor project that I will share next week!
See you soon!

